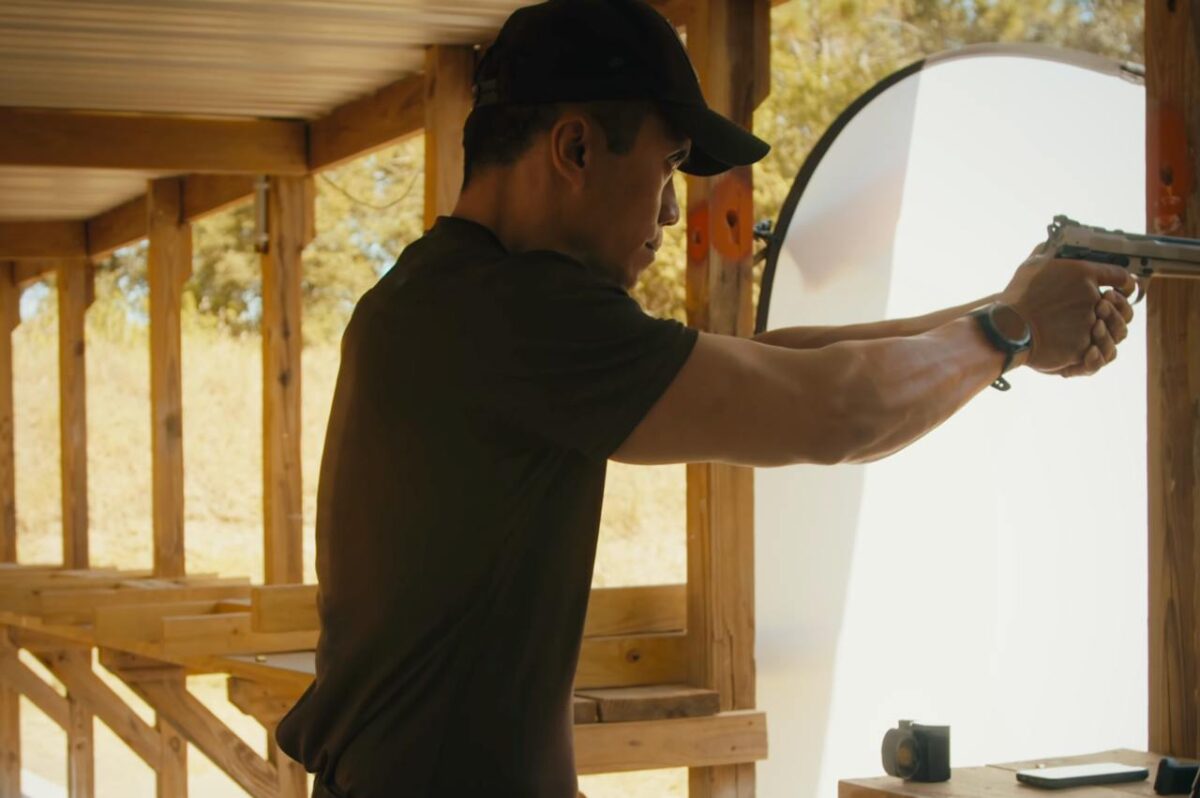
Now that the simple basics of dry fire have been covered for new shooters in this article, it’s time to progress to extending to a draw. With a holster and a gun in place, the biggest challenge is learning how to get the gun out of the holster and back in safely.
Learning the Draw and Reholstering
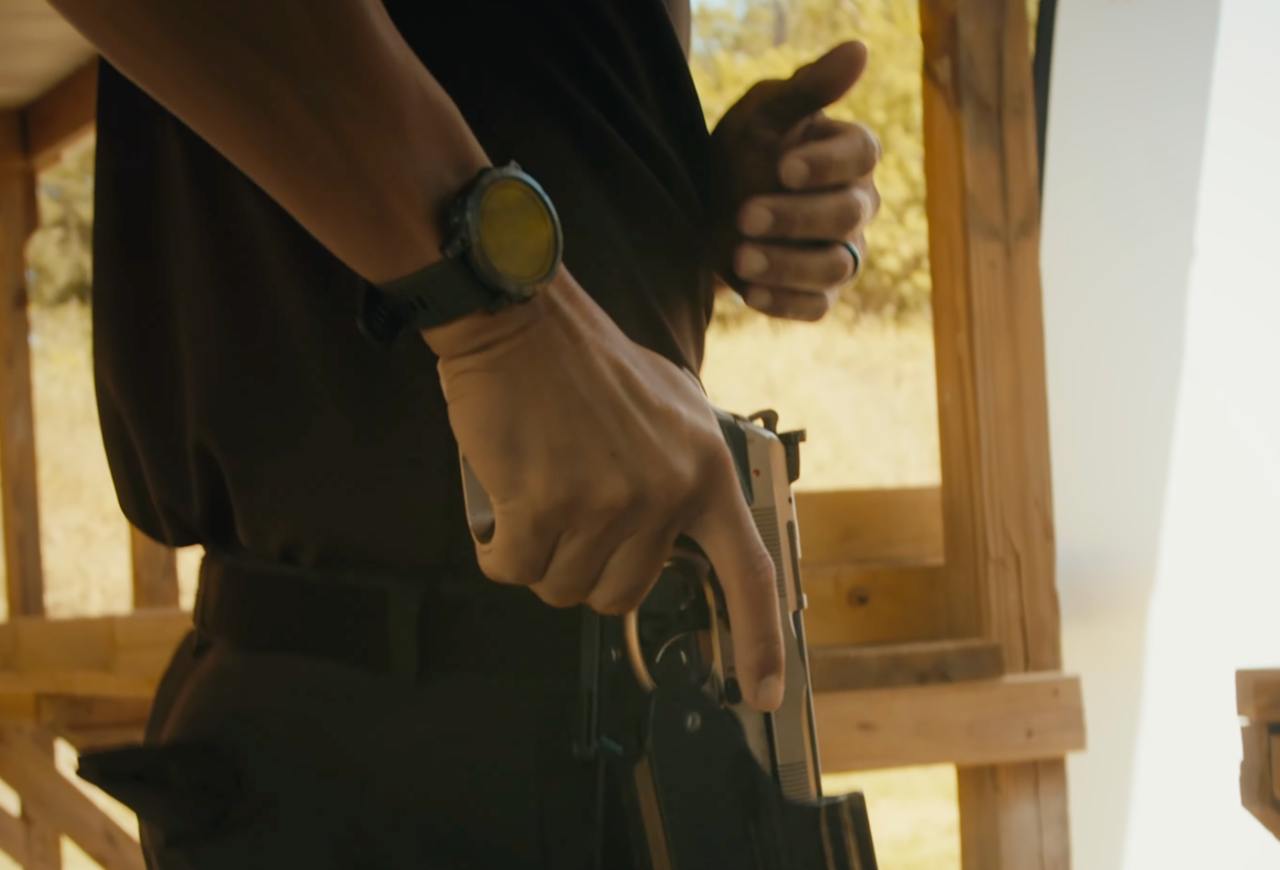
First, learn how to get the gun out of the holster, set the grip firmly, and then present forward.
Practice this movement a couple of times, reversing it because a good draw is basically just a good reholster. Repeat and establish the pattern of how the gun comes back to the holster. Also, pay attention to where the trigger finger is and when it should go in.
Step-by-Step Drawing Technique
1) Both hands move together. There’s no need to do it aggressively; it can be done slowly for now. Get the grip and pull the gun out together without sweeping anything. Assemble a solid grip.
2) Present to the target. Only at the last part should the finger come in. This requires thoughtful attention for new shooters because it’s a more dynamic movement.
Safety and Precision
Repeat the process slowly, exaggerating the grip with the finger off the trigger. Meet and greet with the other hand, keeping the finger still off the trigger. Present outward, and when the sight is on target, sneak the finger in. Occasionally, pull the trigger once.
Again, keep the finger off the trigger when coming back to the ready position (step two), and then back to step one—returning to the holster.
Reviewing the Steps
- Finger Off the Trigger
- Grip
- Sights
- Trigger
After pulling the trigger, keep the finger off the trigger, come back to step two, then back to step one. Initially, it might be necessary to look into the holster to find its position, but eventually, with enough practice, this won’t be needed.

Measuring Progress with Time
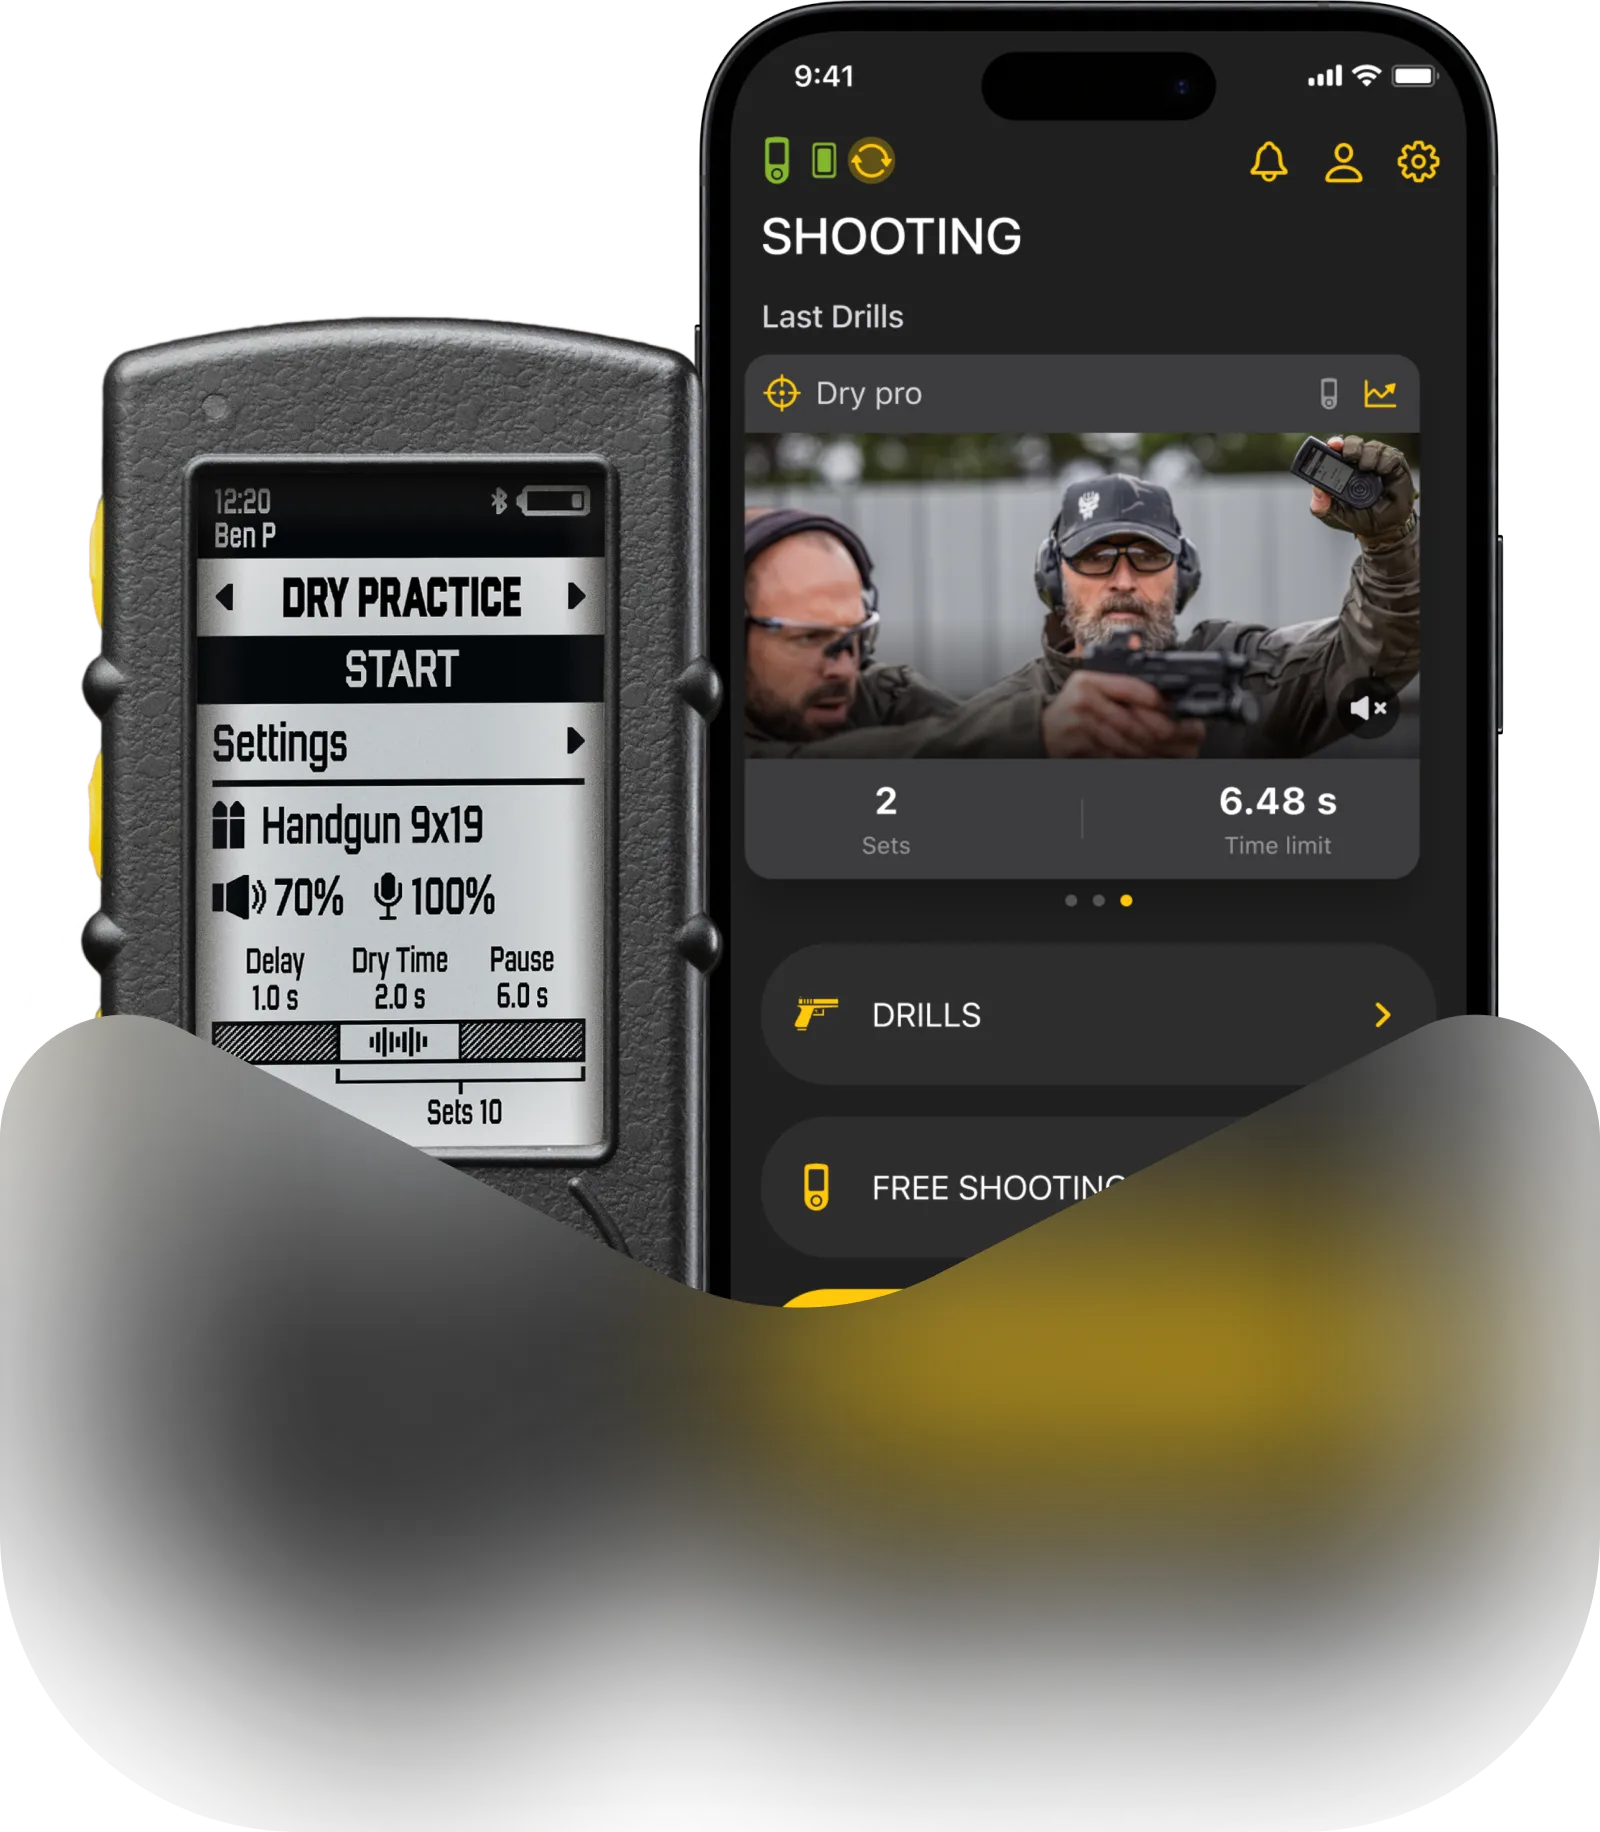
After doing a couple of reps, start measuring the time. It might not be at high speed yet, but set up for two seconds and pull a shot whenever it feels right. Allow a 1.5-second reset to get the gun back in the holster before starting the next drill.
Using a Timer for Improvement
Measure the draw with a timer. There’s no need to do it this fast initially. Set it for two seconds with a 1.5-second reset. Assume doing it for three reps to avoid stopping each time. While this drill can be done hundreds of times in one night, for demonstration purposes, here’s what it looks like:
- Go fairly aggressively.
- Try to pull the trigger perfectly.
- Avoid going too fast; aim for 1.4 to 1.5 seconds or under.
- Focus on achieving a perfect sight picture on the target.
- Activate a good trigger pull without disrupting the sight picture.
Also read: Using a shot timer in dry fire
Analyzing Performance
In this particular drill, the third run might be a little slower due to fumbling the draw, possibly hitting the gun or experiencing a change in movement. Check and see if that was correct:
- First and Second Shots: Approximately the same time at 1.43 seconds.
- Third Shot: Slower at 1.65 seconds due to hitting the gun on the way out with the thumb.
This can cause the gun to move slightly out of the holster, making it feel less smooth than the first two runs. Consistency is key, and any deviations provide feedback on areas needing improvement.
Understanding the Impact of Errors
Hitting the gun early can slow down the draw by 0.2 seconds. Knowing this helps understand how much time is lost if the draw is fumbled. Instead of guessing, the timer provides precise measurements of movement.
Benefits of Using a Timer
Using a timer during draw practice allows for slow execution, even in five seconds. When the buzzer goes off:
- Exaggerate every single movement.
- Meet at the ready position.
- Present the firearm.
- Break the shot once.
- Return to the starting position.
Beating the time isn’t the only goal; the timer records performance whether faster or slower than the set time. If slower, it indicates how much more work is needed rather than how much the time was beaten by.
Repeating the Movement
Remember, drawing is all about repeating the movement and understanding that both hands move together.
- Step 1: Both hands move together.
- Step 2: Both hands come together.
- Step 3: Present the whole package in front.
The goal is to perfect the movement so that by the time the gun is fully presented, the sights are exactly where they need to be, rather than sideways or off-target. Small adjustments may be necessary, and the more repetitions done, the better.
Building Shooting Structure
Starting from the table helps in learning the structure from the start. Having already built the position from there, once learning how to draw from the holster, establish the same exact feeling to create the shooting structure built before during initial practice. Now, coming from the draw, it should be possible to find a good sight picture without seeking and searching for the sight.


