Introduction
Free Shooting is the most simple and quick way to start training with SG Timer, in case you don’t need to track your performance in detail over a long period of time.
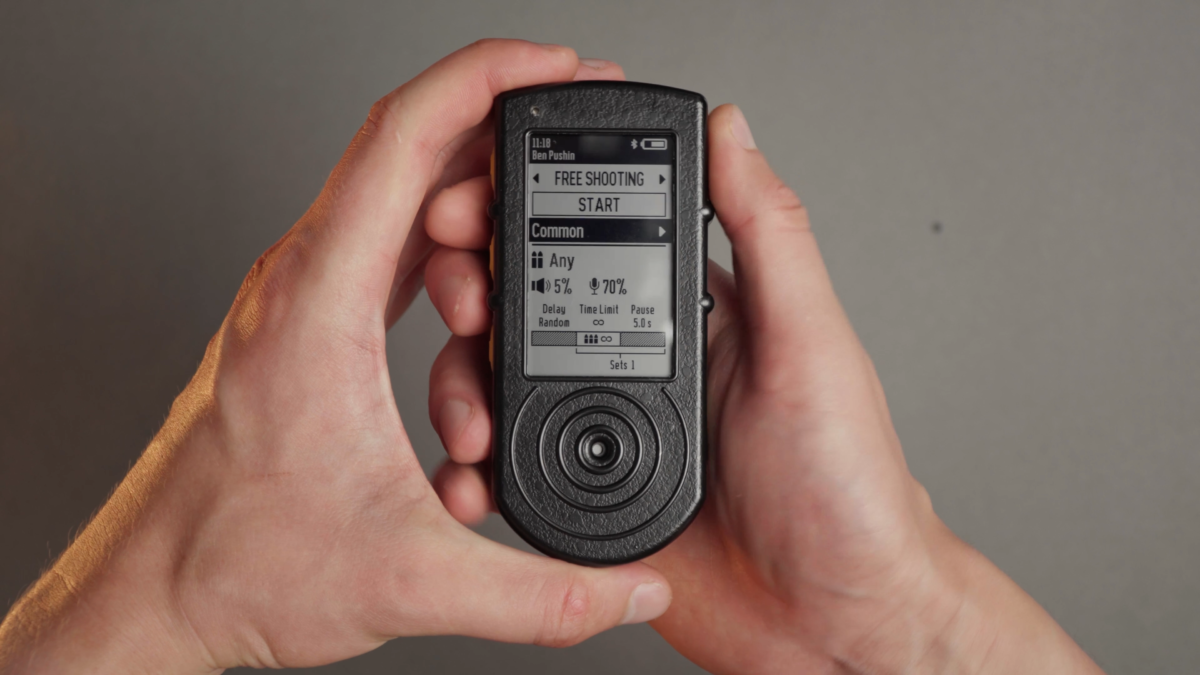
It allows you to set up simple par times, or just use the timer in a traditional way, where all you need is your shot times.
Your shooting history of shot times and splits will be saved to the timer or to the Drills app Activity, and you can also record video with shot overlay here.
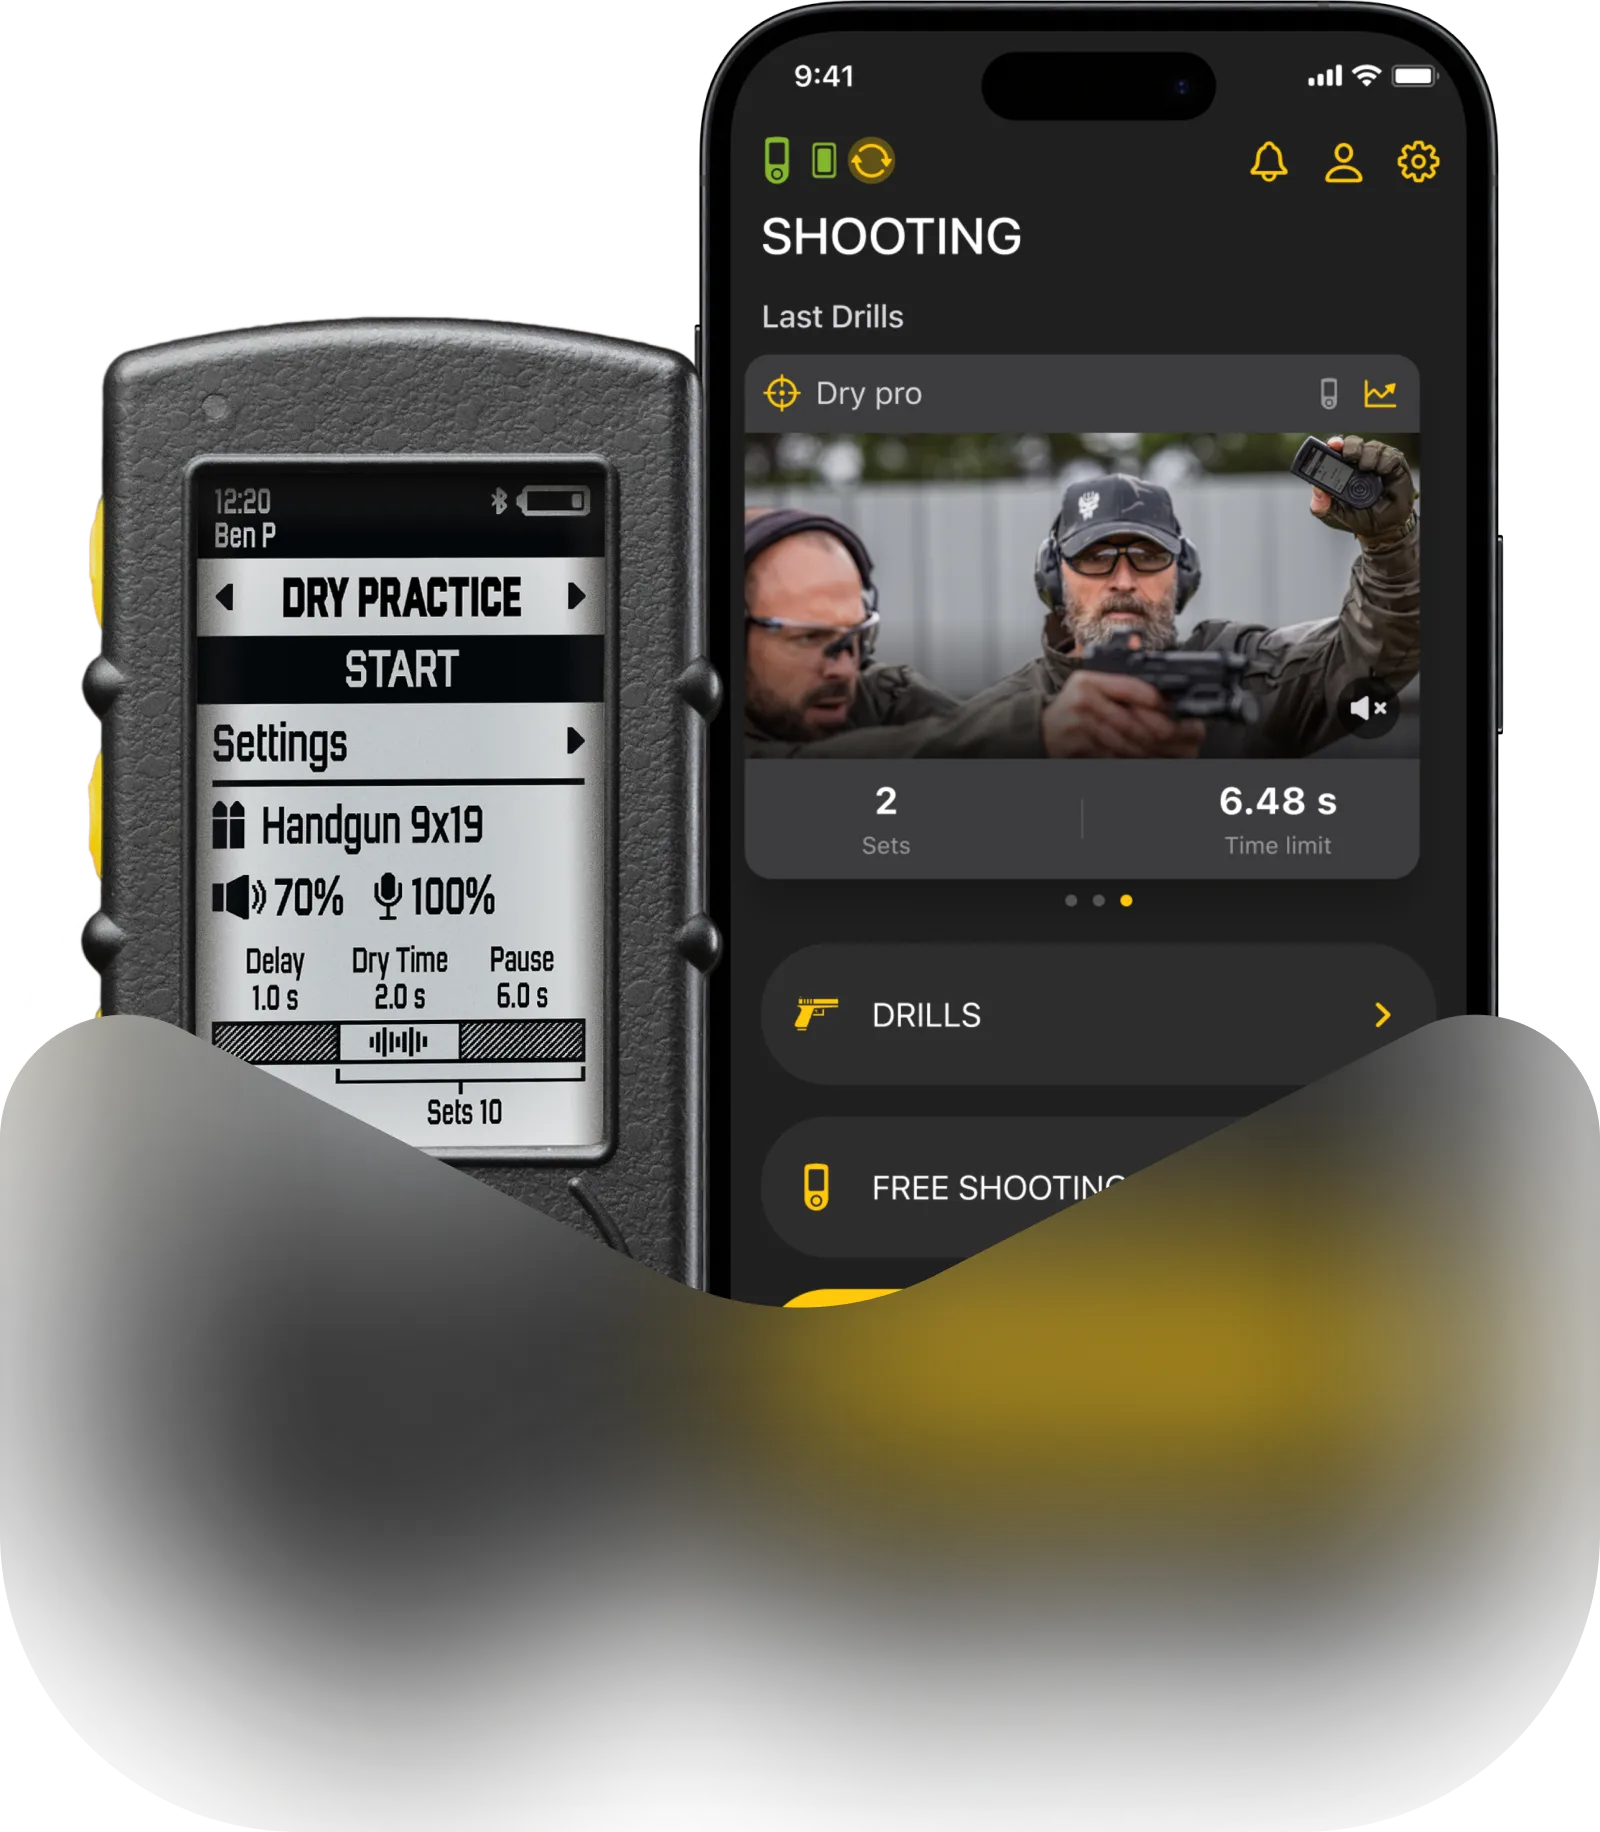
On the main screen you will see the start button, preset menu, buzzer volume, sensor sensitivity, spy mode icon, delay before start, time limit, shot limit, pause between sets and number of sets.
Learn more about these settings here.
You can modify all settings either on the timer, or in the Drills mobile app.
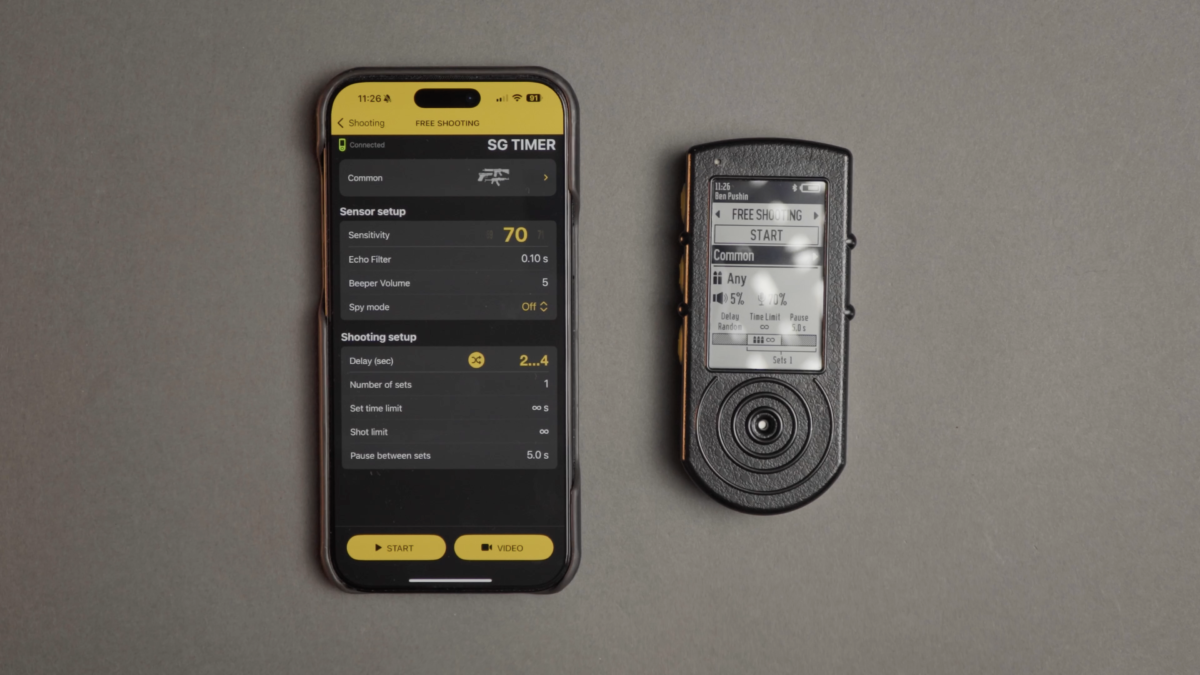
Settings are divided into 2 categories — sensor setup, where you can control everything related to sensor and buzzer. And programming settings, which control the program the timer will use when giving signals.
Preset is a combination of “Sensor setup” settings and programming settings.
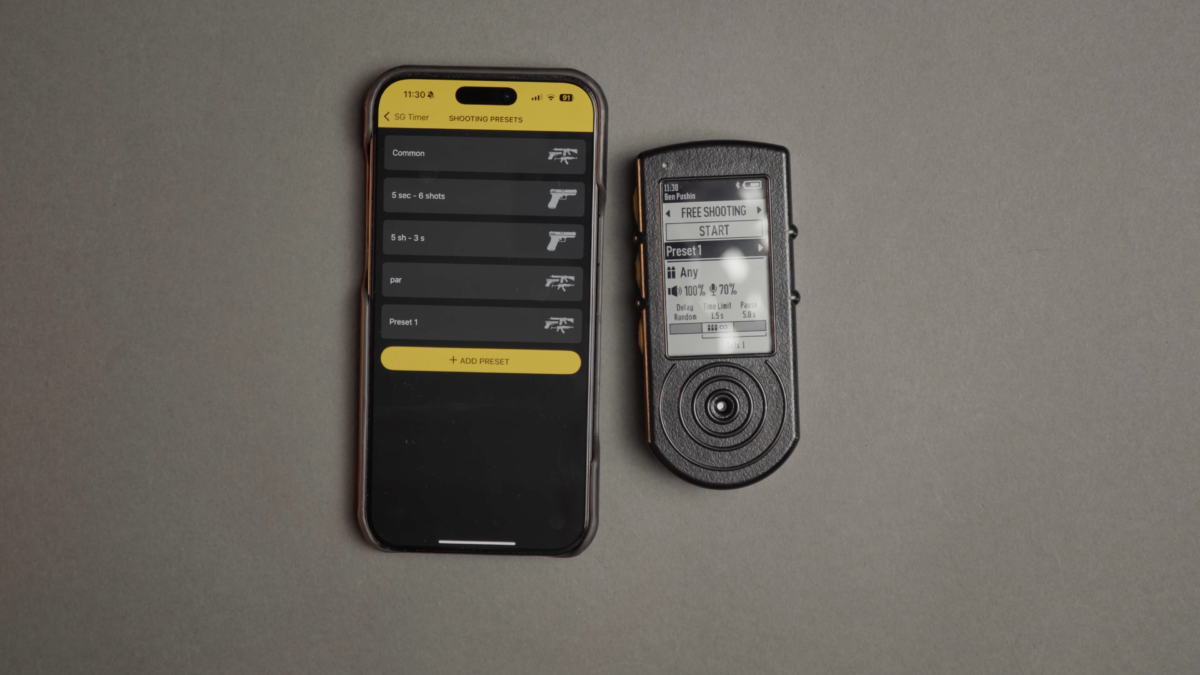
All settings are stored in presets. You can add up to 7 custom presets. They can be added, deleted and edited on the SG Timer or in the Drills app. Preset names can be changed only in the Drills app.
Learn more about Presets, Sensor and Programming settings here.
Also learn: Drills app Guide
Shooting with SG Timer / SG Timer 2
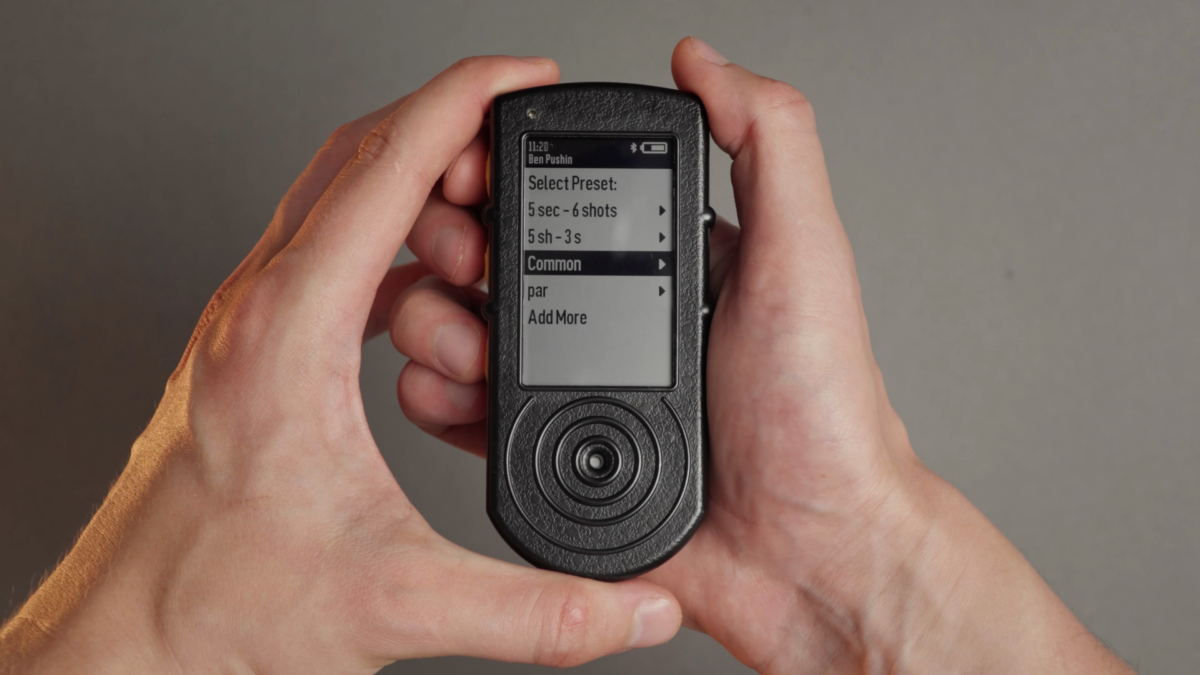
Select the “Free Shooting” mode. Then go to presets and a preset you want to use. You can modify the existing preset as well. Note that it will overwrite settings in the preset.
Press the “Start” button and begin shooting.
To exit Shooting mode, press the upper button.
If you want to start another session immediately, press Start again without exiting Shooting mode.
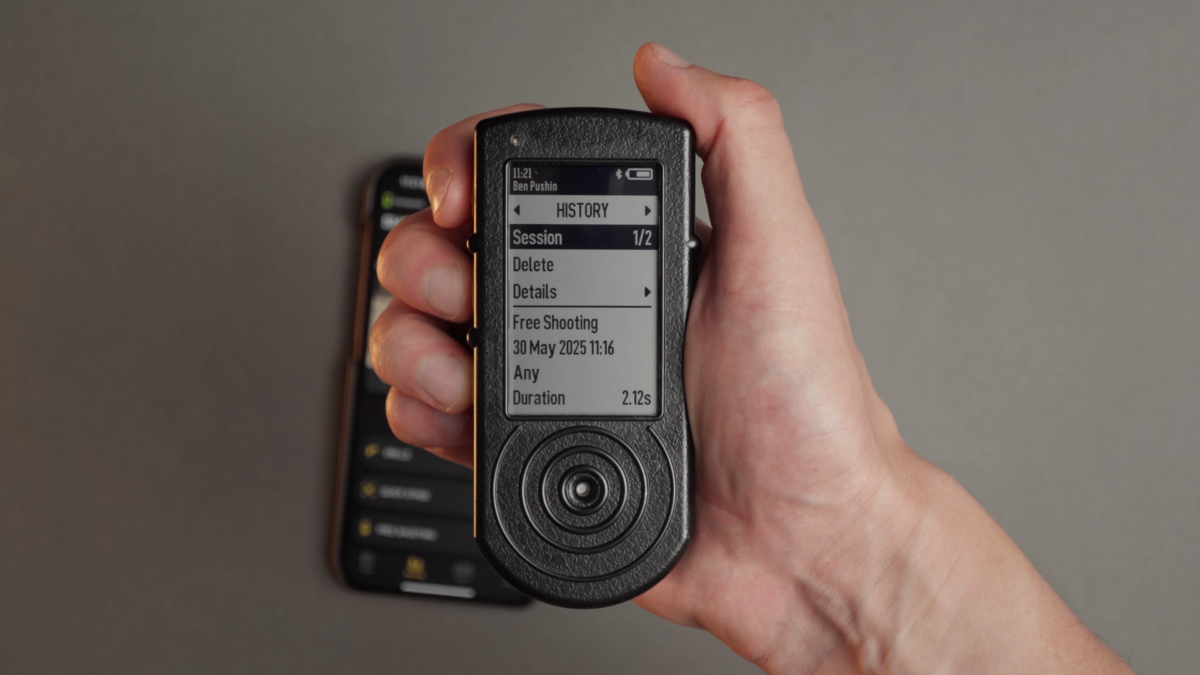
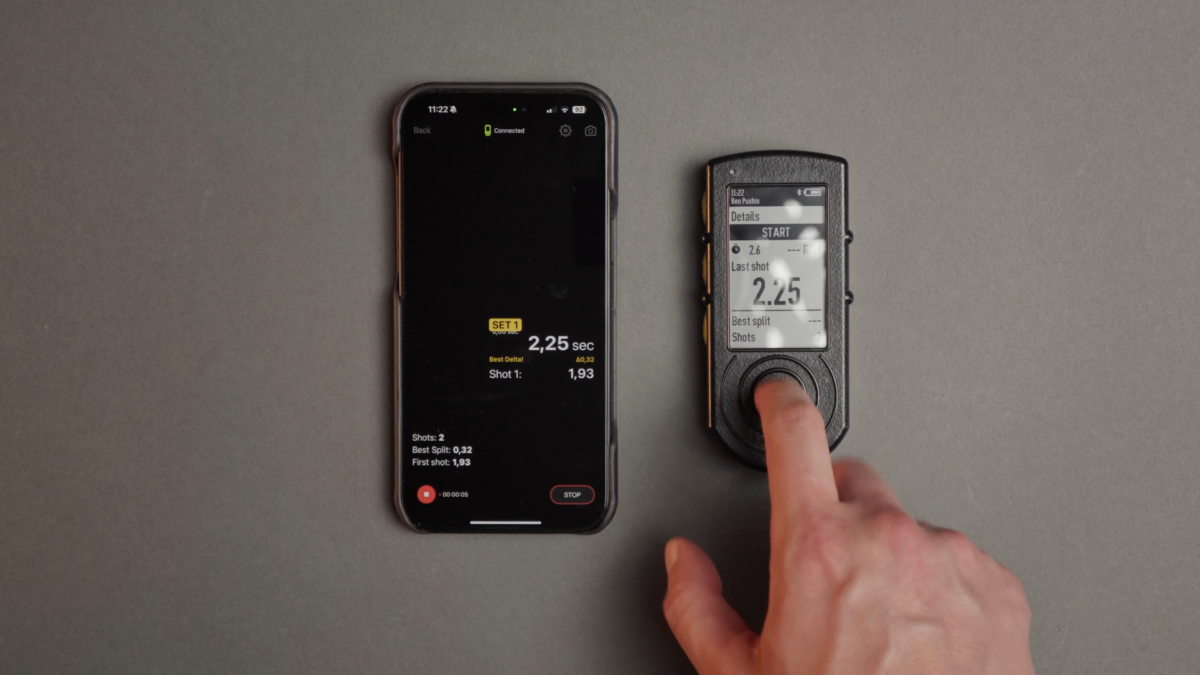
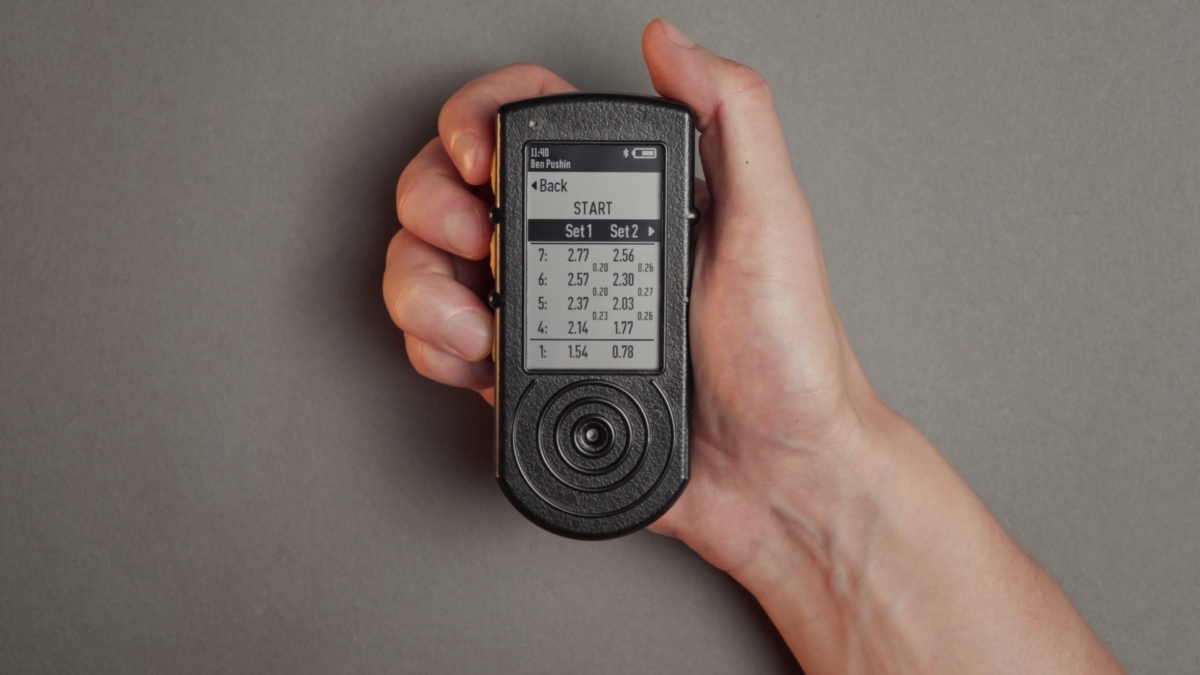
When you exit the shooting mode, you will be presented with a shot list, which you can scroll through.
If you had multiple sets, they all will be displayed on one screen. Use Up and Down buttons to scroll through shots. To scroll through the sets, select the Set menu and press the middle button.
Learn here how to setup multiple sets.
All Free Shooting sessions are also saved in History on the SG Timer.
Learn more about the “History” tab here.