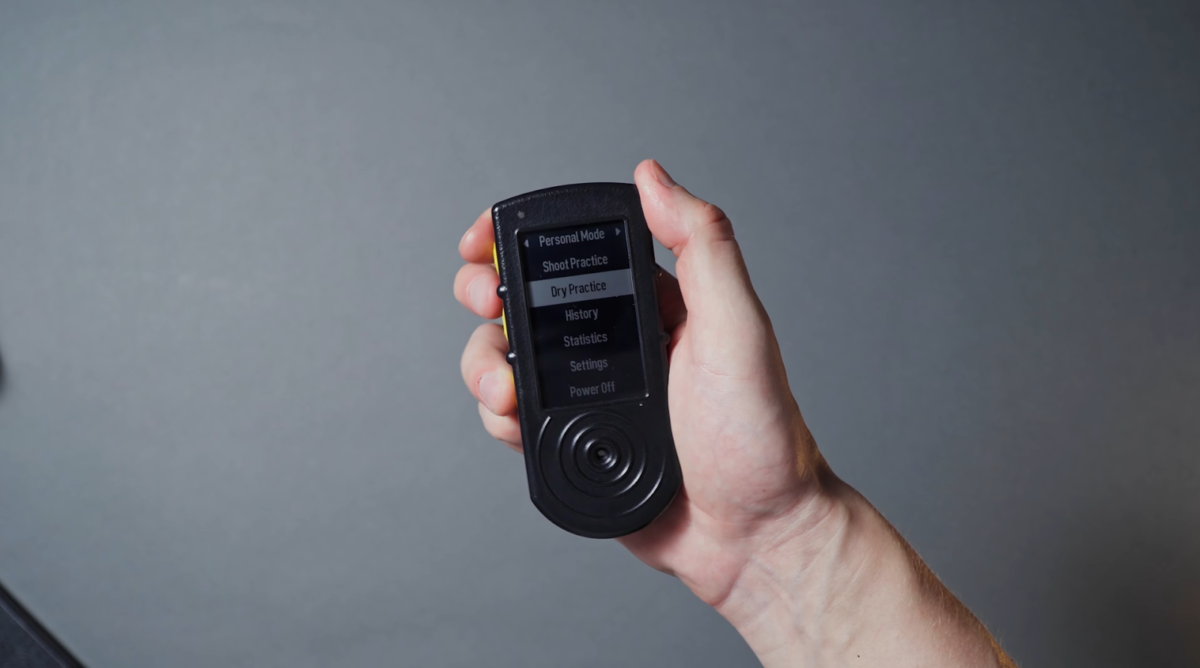
Aby włączyć timer, naciśnij i przytrzymaj przycisk w środku. Aby go wyłączyć, przejdź do menu głównego, wybierz opcję „Wyłącz” i naciśnij środkowy przycisk. Dodatkowo, timer wyłączy się automatycznie po 30 minutach bezczynności.
Górne i dolne przyciski służą do przewijania w górę i w dół, aby znaleźć potrzebny element. Aby przełączać się między trybami, wybierz górne menu i kliknij środkowy przycisk. Wybierz tryb i kliknij środkowy przycisk. Możesz także nacisnąć przycisk „góra” na ekranie głównym, aby przewijać tryby.

Możesz także przełączać się między ustawieniami w „Strzelaniu swobodnym”, naciskając przycisk w dół.
Teraz przyjrzyjmy się kilku podstawowym funkcjom timera.
Rozpoczęcie/zatrzymanie sesji
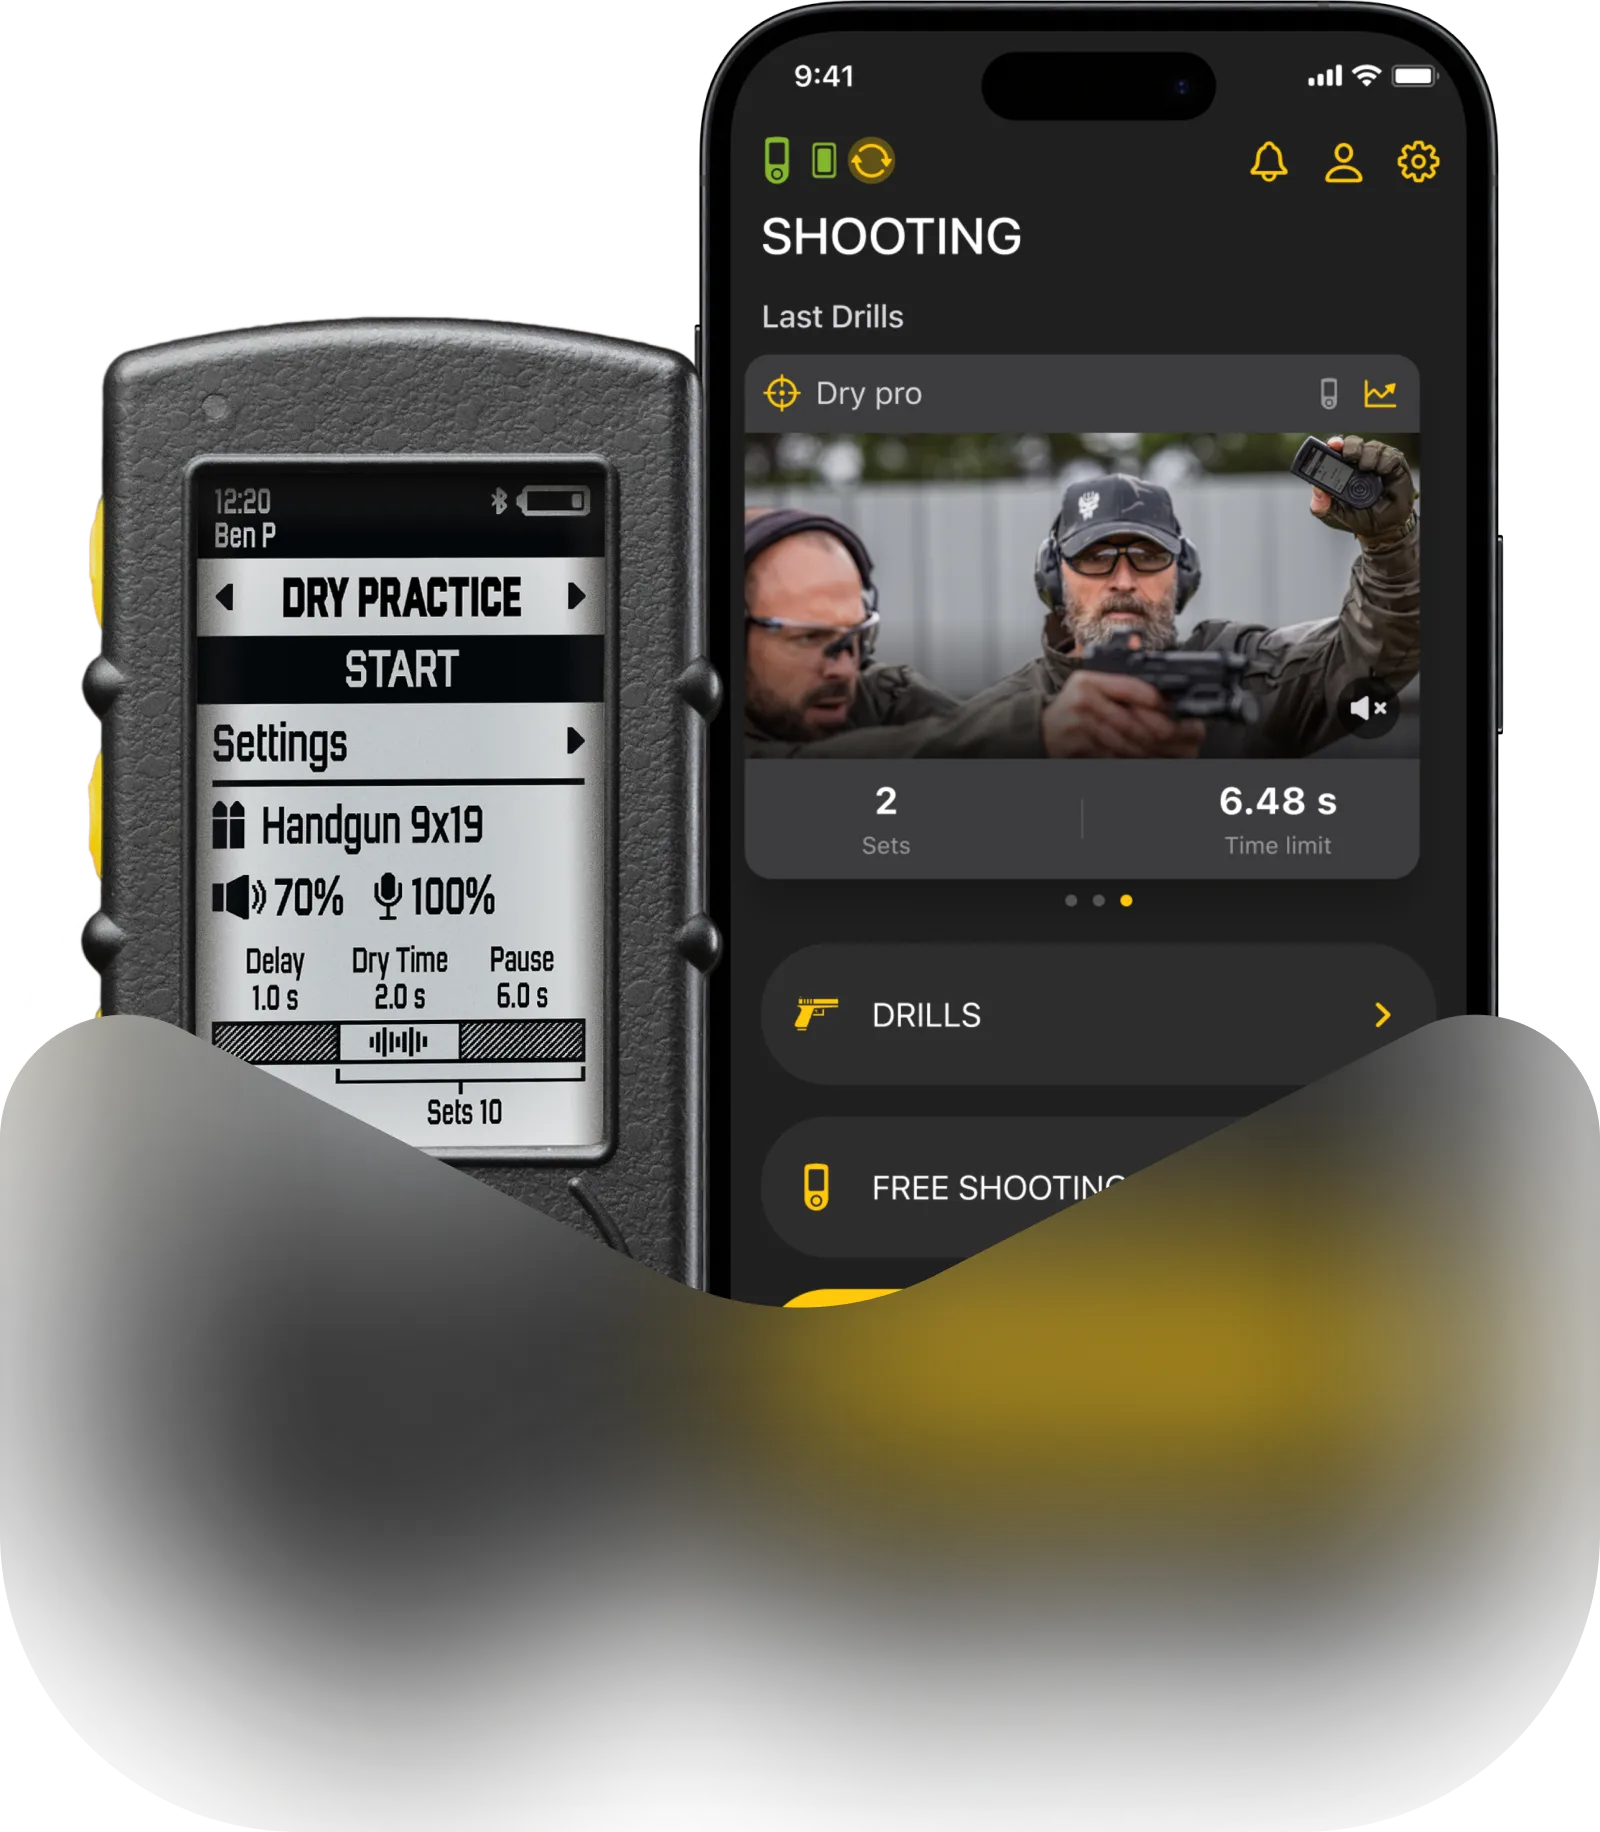
Najpierw wybierz odpowiedni tryb w górnym menu: „Strzelanie swobodne”, „Ćwiczenia strzeleckie” i „Ćwiczenia na sucho”, a następnie rozpocznij strzelanie po sygnale dźwiękowym.
Możesz zakończyć sesję, wybierając menu „Wstecz” (naciskając przycisk „góra”).
Podczas sesji możesz natychmiast rozpocząć nową, naciskając ponownie „Start”.
W ten sposób możesz natychmiast rozpoczynać nowe sesje jednym przyciskiem. Wyniki wszystkich poprzednich sesji będą dostępne w zakładce „Historia” lub „Aktywność” w aplikacji Drills.
Przeczytaj także: Przewodnik po aplikacjach Drills
Wyniki
Po zakończeniu sesji zobaczysz wyniki.
Ostatni strzał zostanie wyświetlony dużymi cyframi w górnej części ekranu. Wskaźniki po lewej stronie to czasy strzałów, po prawej — czas pomiędzy strzałami. Najlepszy czas pomiędzy strzałami zostanie wyróżniony.
Na dole znajduje się czas pierwszego strzału i najlepszy czas pomiędzy strzałami — zawsze umiejscowione w jednym miejscu. Możesz przewijać wyniki, aby zobaczyć indywidualne dane dla każdego strzału. W przypadku kilku czasów par możesz przewijać w dół, w górę i na boki. Aby wybrać zestaw, naciśnij środkowy przycisk.
Jeśli twój timer jest połączony z telefonem, wyniki zostaną również zapisane w aplikacji Drills. Jeśli trenujesz bez aplikacji, wszystkie wyniki zostaną przesłane do aplikacji później, gdy tylko połączysz timer z aplikacją.


