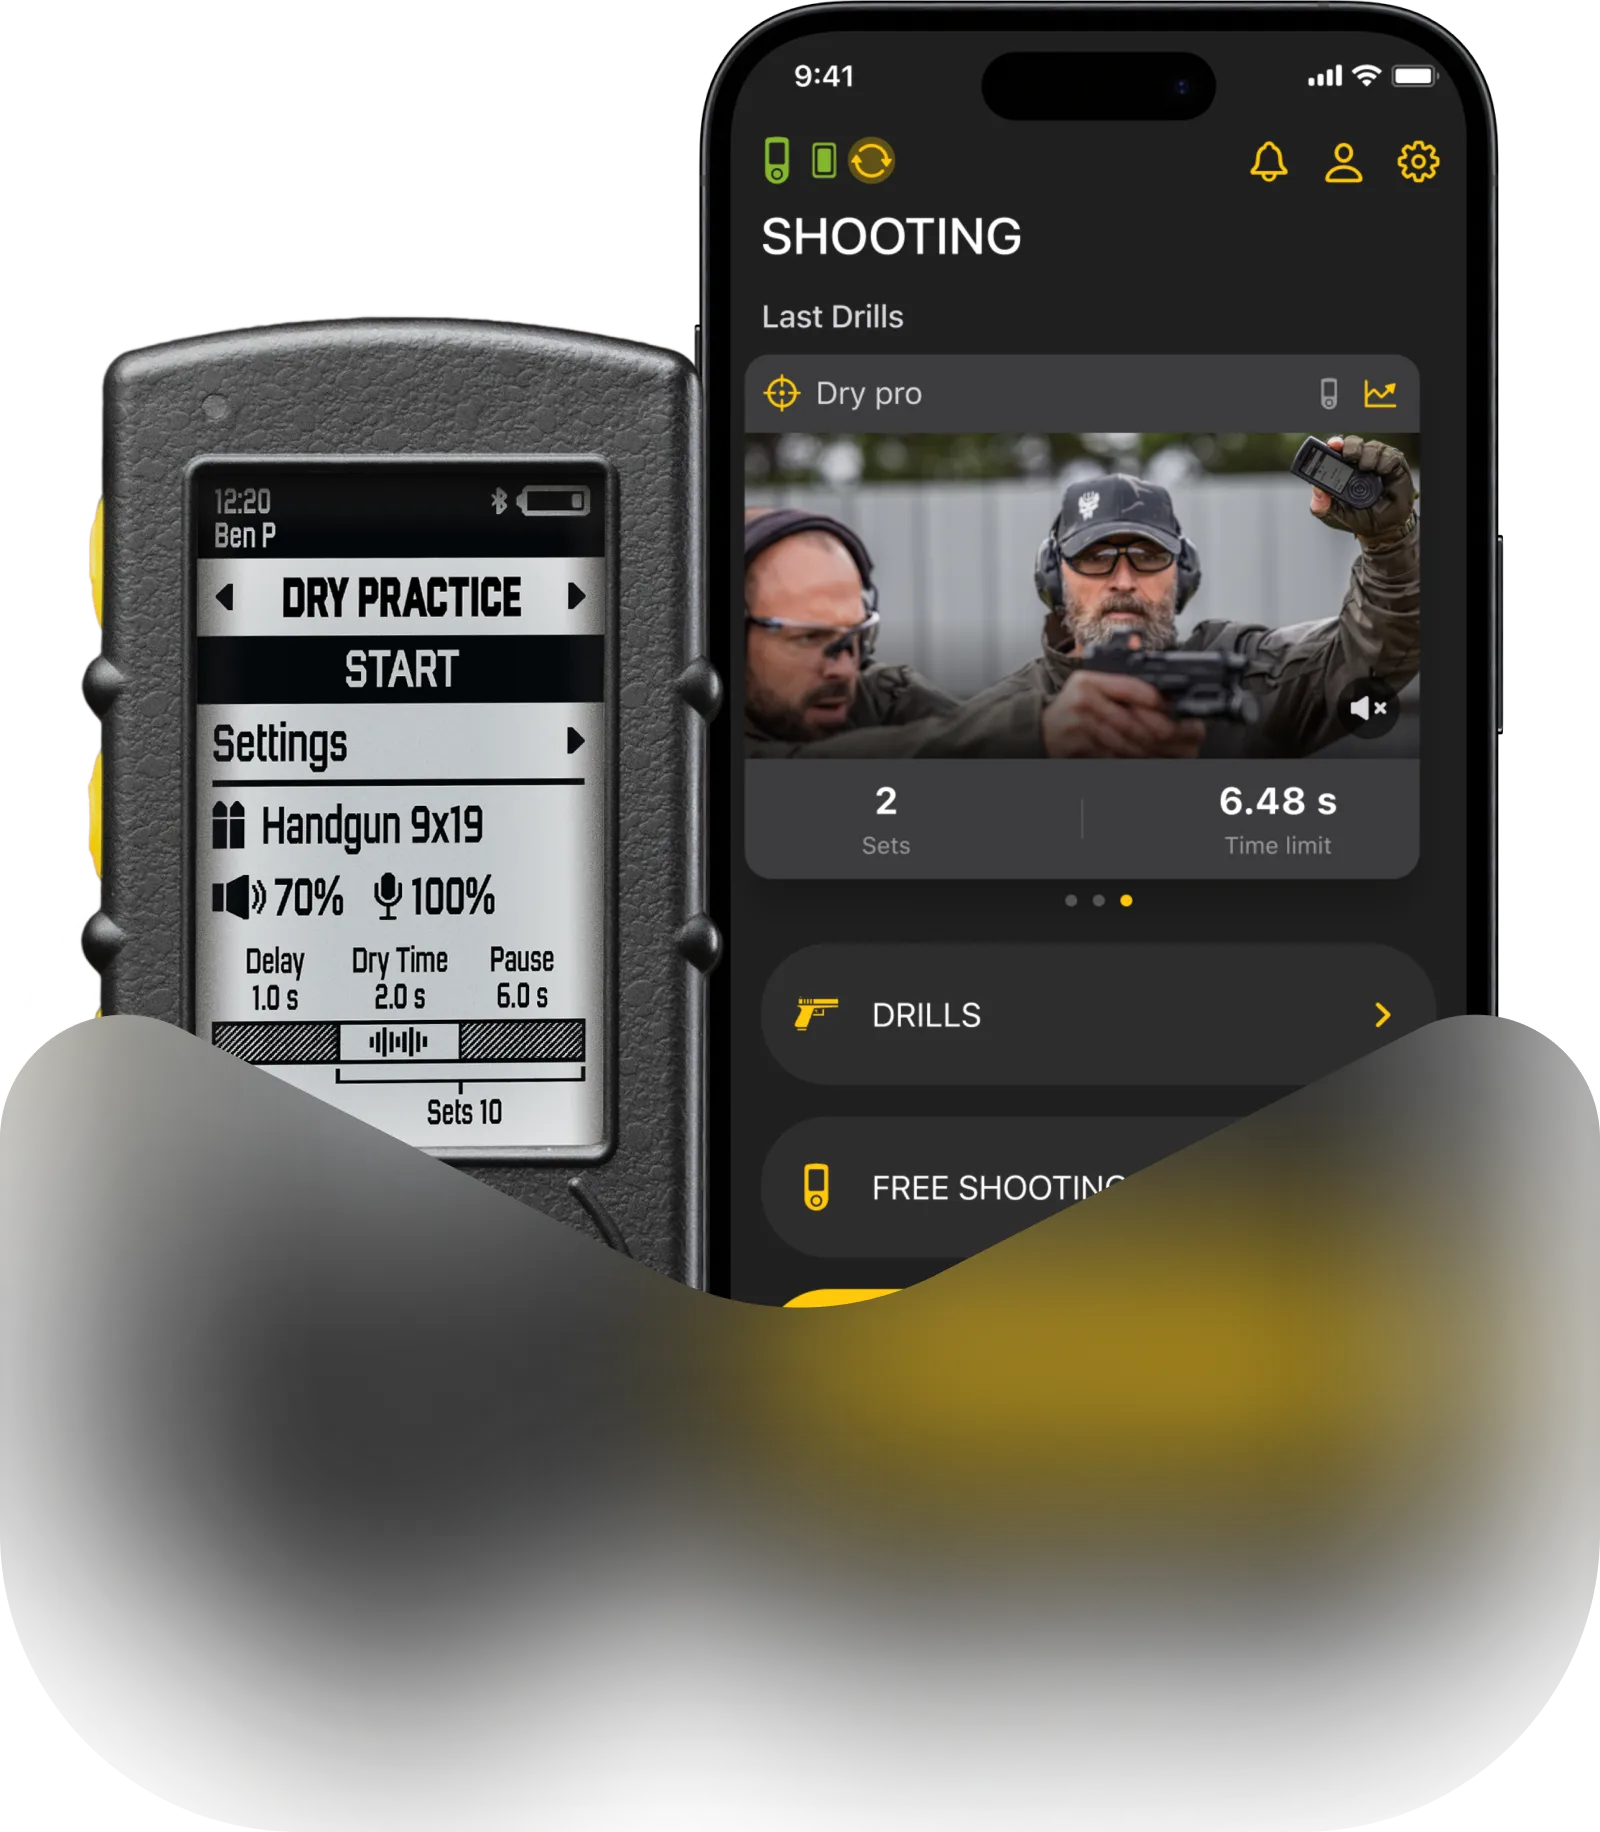
Drills for Garmin lets you start your timer right from your wrist, select drills, change settings, and view your session results directly on your watch.
Installation and Connection
Install Drills on your Garmin watch via Connect IQ.
Make sure your watch firmware is up to date.
Once installed, launch Drills on your watch. The Device Search screen will appear.

Turn on your SG Timer.
Select your device to initiate pairing. Confirm the PIN on both the timer and the watch to finalize the connection; this prevents any other timer from accidentally connecting to your watch.
You only need to confirm the pairing on both devices during the first connection; after that, the timer will connect automatically once selected from the list.
If you encounter any issues during pairing, please try the following: remove the timer from the list of “Sensors & Accessories” on watch and try again.
⚠️ Please note that the timer cannot be connected to the Drills mobile app and Garmin at the same time.
Drills for Garmin allows you to work in three modes:

🔶 Free Shooting;
🔶 Dry Fire Drills;
🔶 Shooting Drills.
Free Shooting Mode
On the main screen you can see:
⚙️ Sensitivity on the left and Echo Filter on the right
⏳ Delay at the top
📂 The name of the currently selected preset below it

Swipe down to access the menu where you can select another preset or fine-tune the current one. You can change:
Delay, Time and Shot Limits, Sensitivity, Echo Filter, Beeper Volume, Number of Sets, Pause Time, enable or disable Spy Mode, or Disconnect Timer.

For more details on presets and configuration, check out this guide.
All changes you make on the watch are synchronized with the timer and saved in the same preset.
To return to the previous menu, press the Back button on your watch.
To start a session, press the Start button. You’ll feel a short vibration as the session begins.
If you set the timer’s beep volume to zero, only the watch vibration will trigger — perfect for a silent dry fire session. 🤫

The screen will display:
⏯ Stop and Restart buttons;
ⴵ Delay countdown;
# The current Set number (out of total sets).
During shooting, you’ll see each shot time and the split time (delta) between shots.


After finishing the session, you’ll see:
🔶 All shot times and deltas;
🔶 Total number of shots;
🔶 Number of sets (if applicable).
Dry Fire and Shooting Drills
After selecting either Dry Fire or Shooting Drills mode, wait for the drills to load. Then, select the desired drill from the list.

If no drills are available, it means they haven’t been created or transferred from the Drills mobile app to your SG Timer, or they haven’t been added directly on the device (for SG Timer 2).

Session start and result display work the same way as in the Free Shooting mode.
For Shooting Drills, you can adjust only the Delay.
For Dry Fire Drills, you can adjust both the Delay and the Number of Repetitions for dry fire.
To ensure your session results appear in the Drills mobile app, disconnect the timer from the watch and reconnect it to the mobile app. Wait until synchronization completes — your data will automatically appear in the app.
For more details on how to create Dry Fire and Shooting Drills, check out this guide.
Note: Depending on your Garmin watch model, available features and navigation methods may vary slightly.
The list of supported devices for Drills can be found on the Connect IQ™ Store.