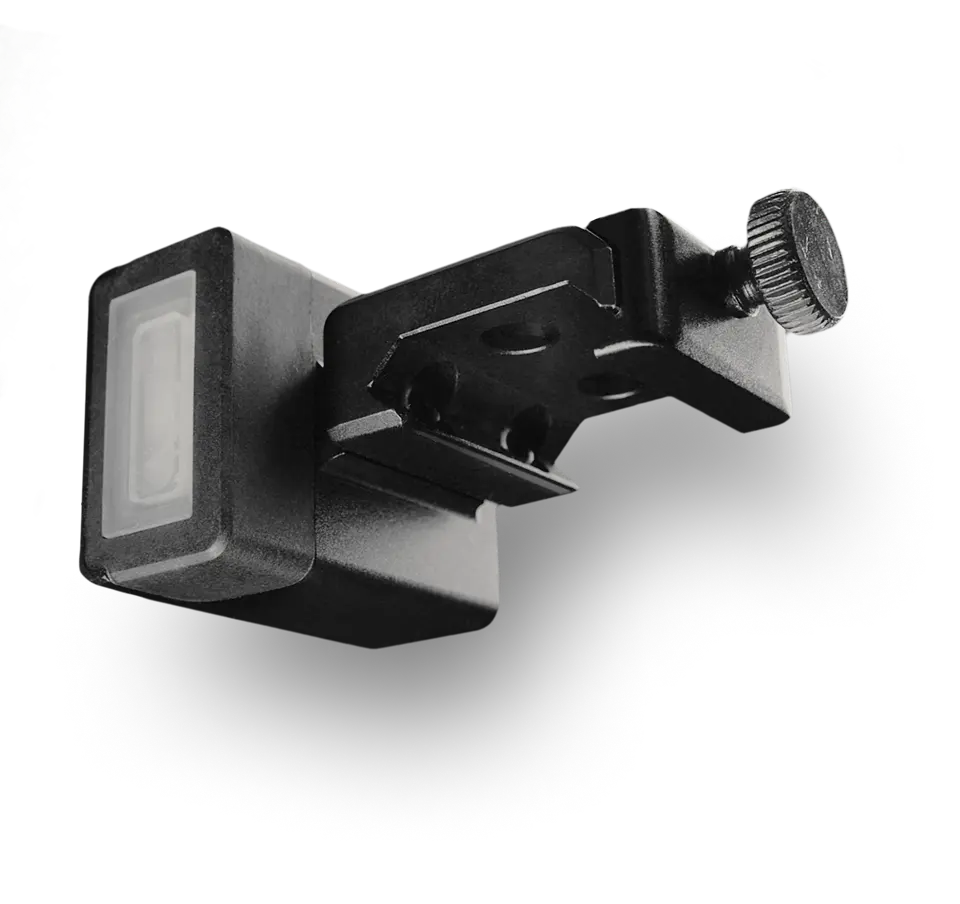
Pulse Pro is ambidextrous and can be mounted horizontally, vertically, or at an angle, as it can be custom calibrated in any orientation.
Use the allen key to attach the mount you need and attach the Pulse Pro to your rifle.
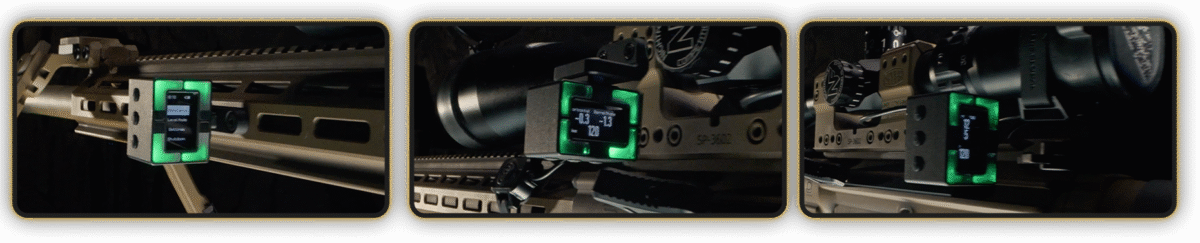
The SG Pulse Pro comes factory-calibrated in both vertical and horizontal orientations. However, it is still recommended to calibrate it to each specific rifle. It tracks horizontal and vertical axes, thus you can calibrate both of them.
Make sure your rifle is level. You can do this using a bubble level or the Pulse Pro itself.
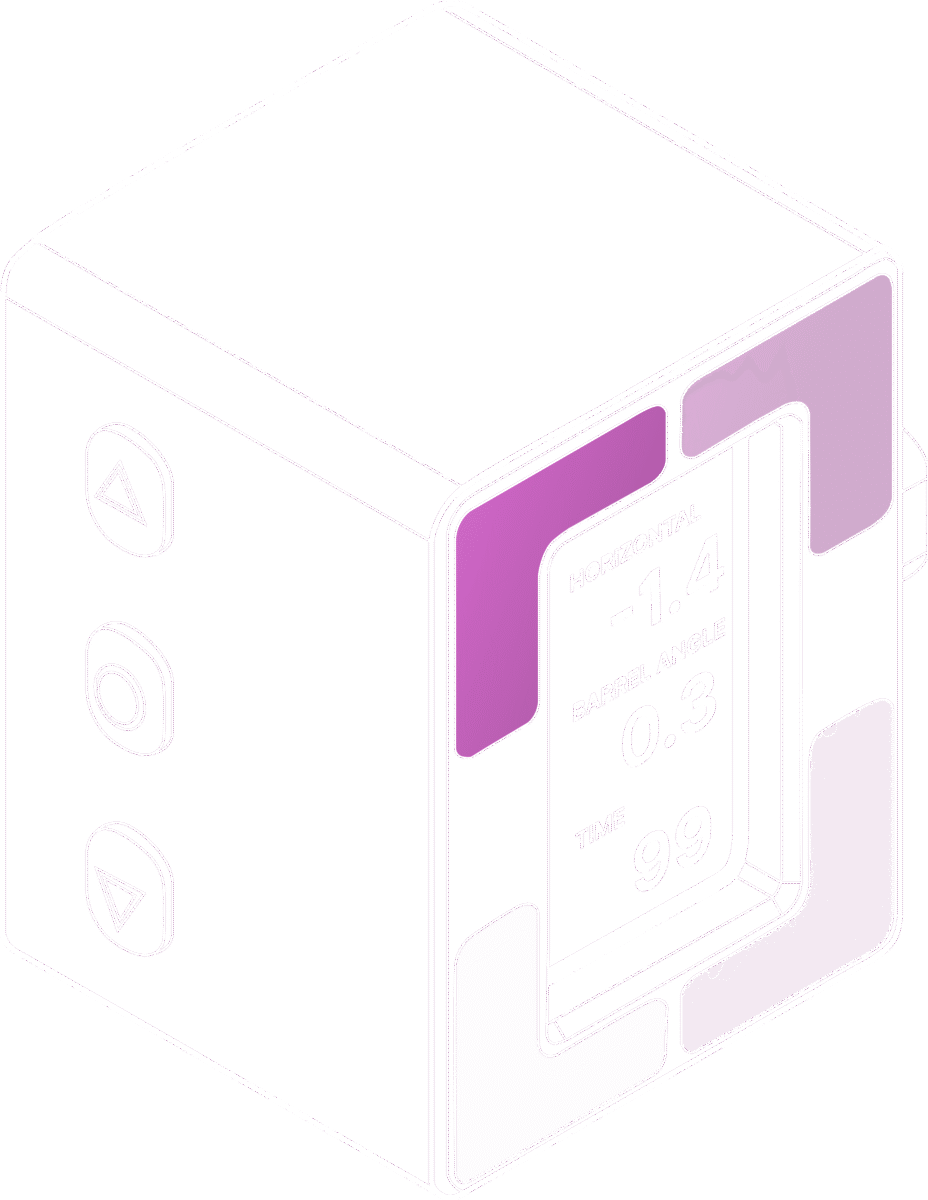
Go to the Level Mode menu. To calibrate the horizontal axis, press and hold the UP button for 2 seconds, then the LEDs will flash pink and a message will appear on the screen indicating that calibration is in progress.
Wait for the color to change to green. Do not touch the rifle — it must remain completely stable. Once the LEDs turn green, the device has registered this level as the zero horizon level.
To calibrate the vertical axis or barrel angle, press and hold the DOWN button for 2 seconds, the device will calibrate in a similar way, but this time it will zero the barrel angle (vertical angle).
Please note that if the LEDs continue flashing purple, it means that there’s micro movements going through the rifle. The sensors are very sensitive.
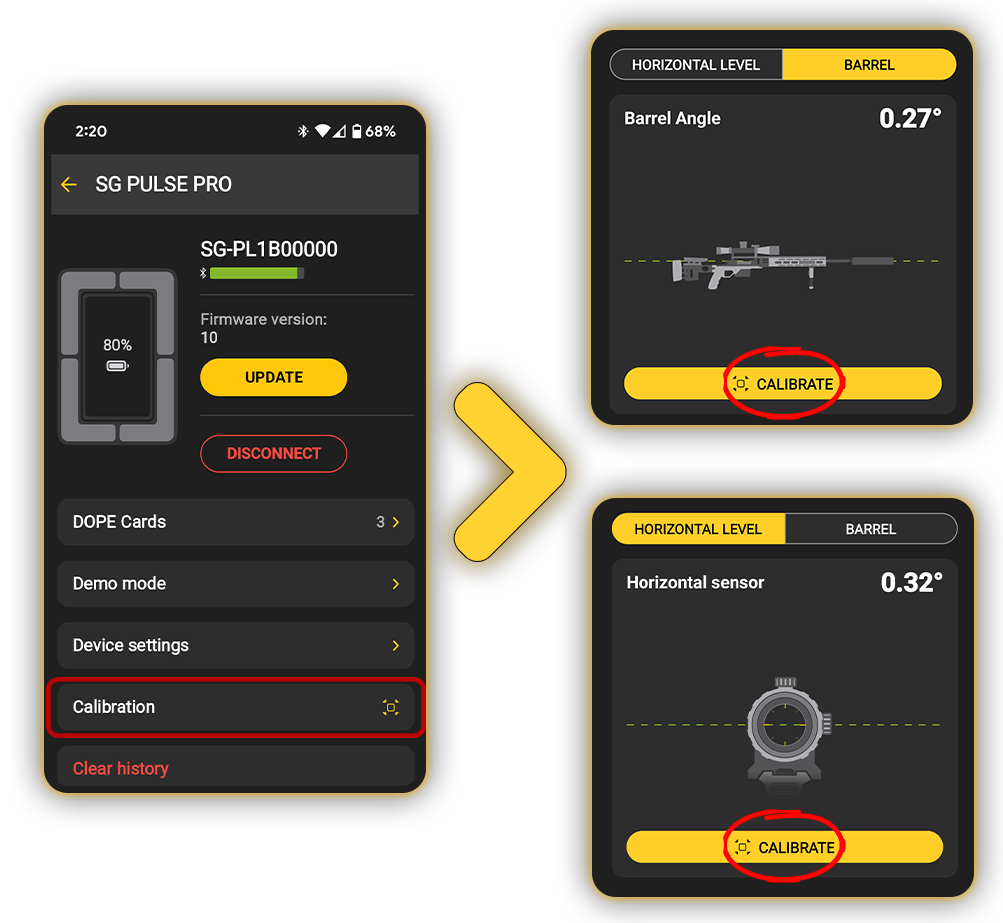
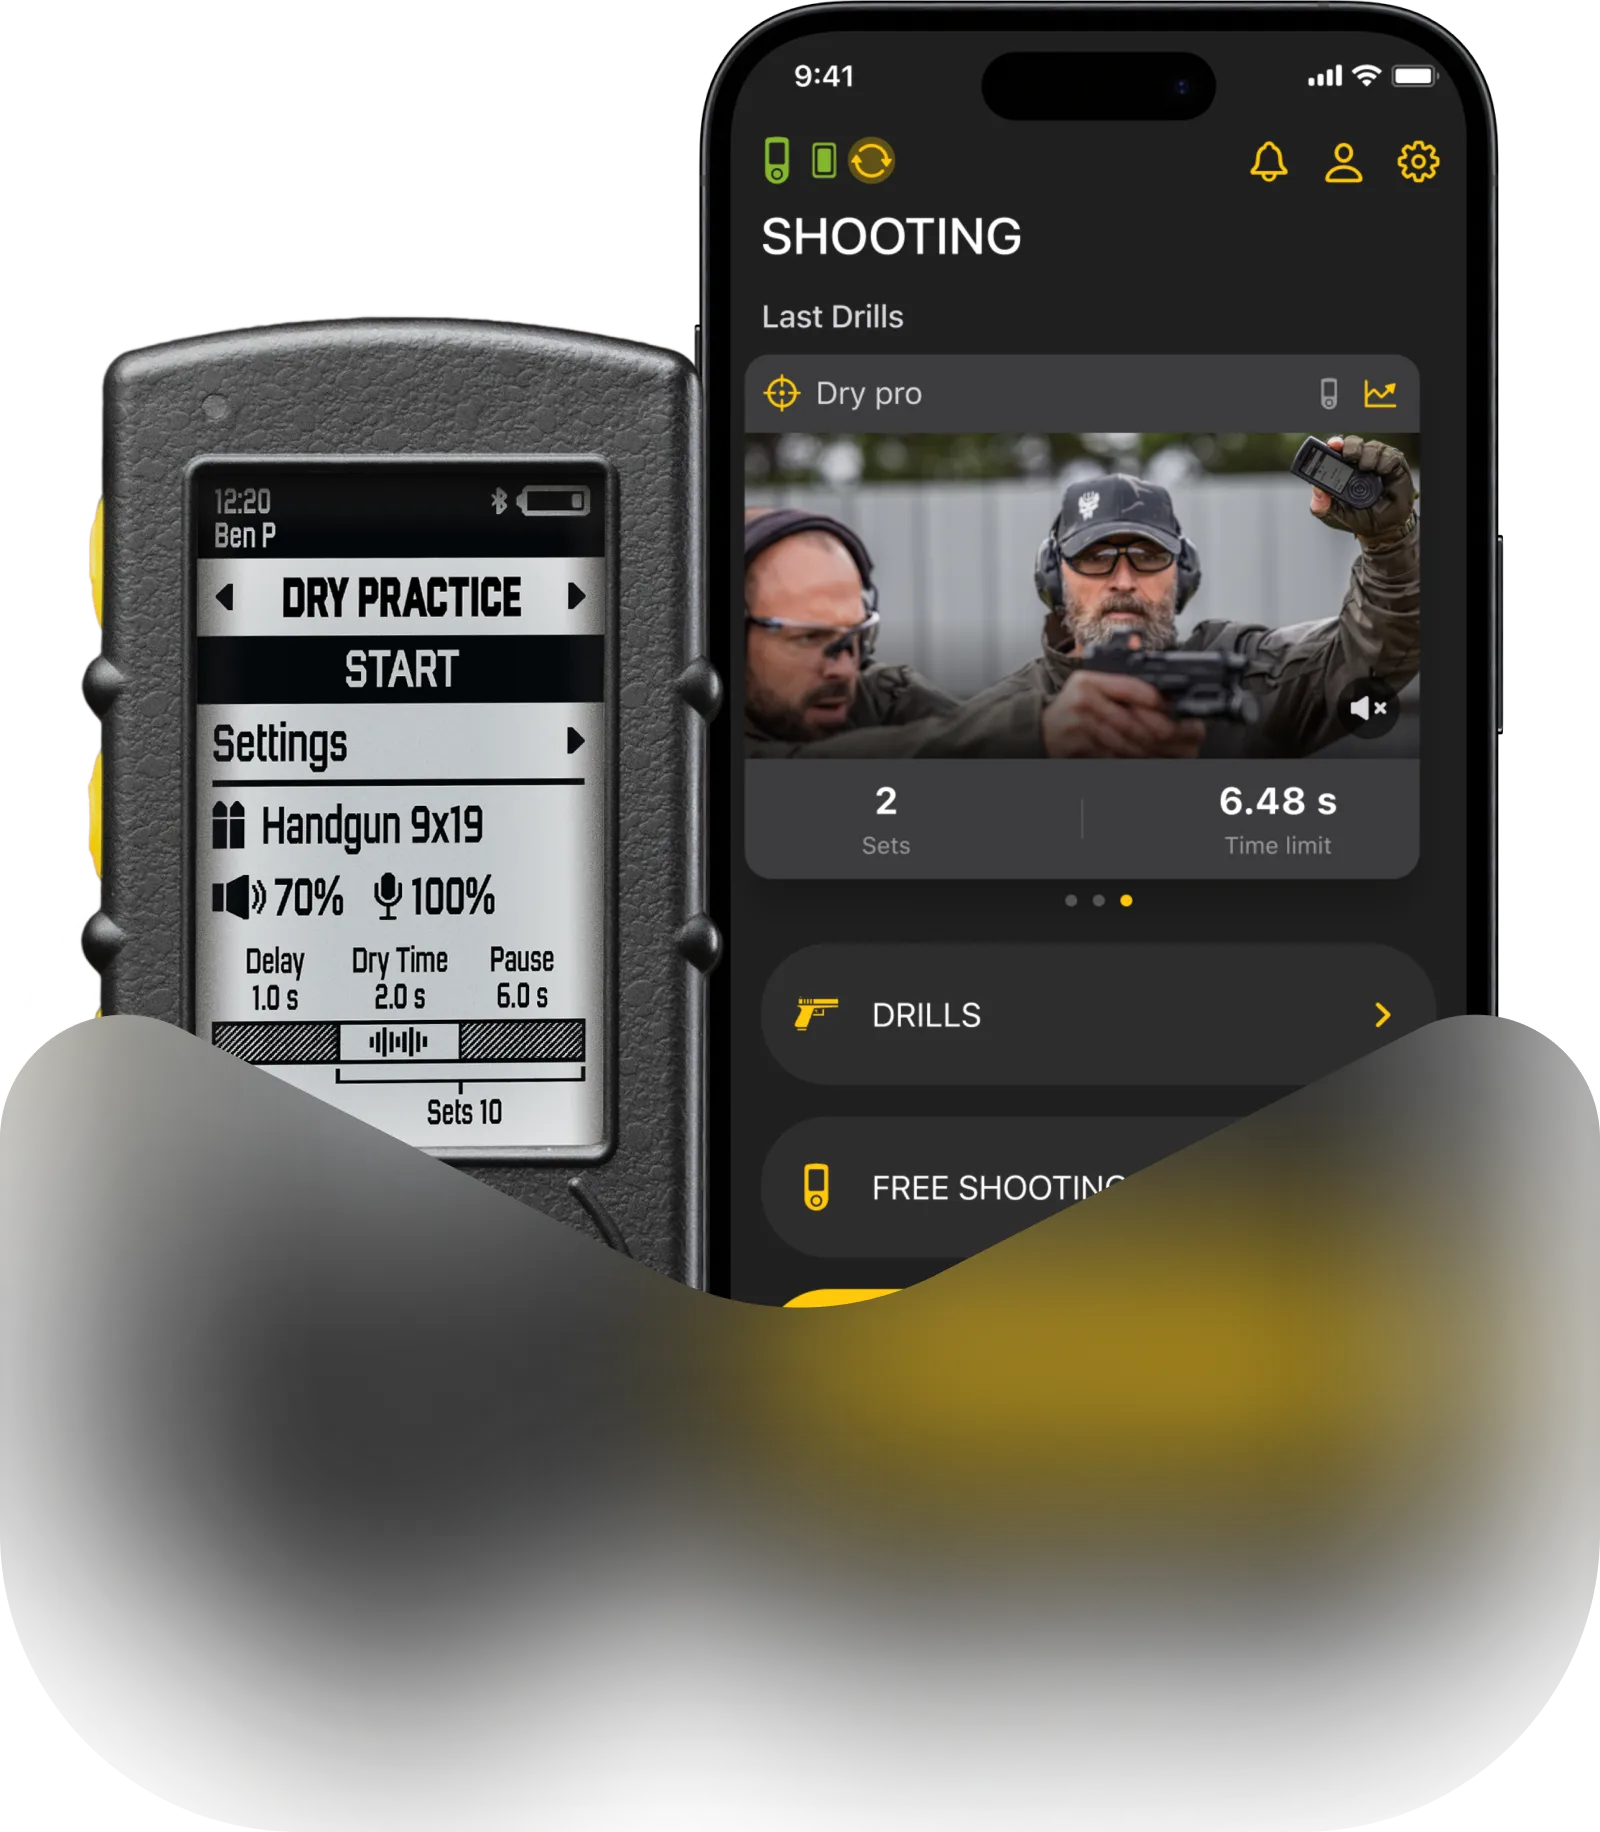
You can also calibrate the Pulse Pro using the Drills App by selecting the desired type of calibration in the device menu.
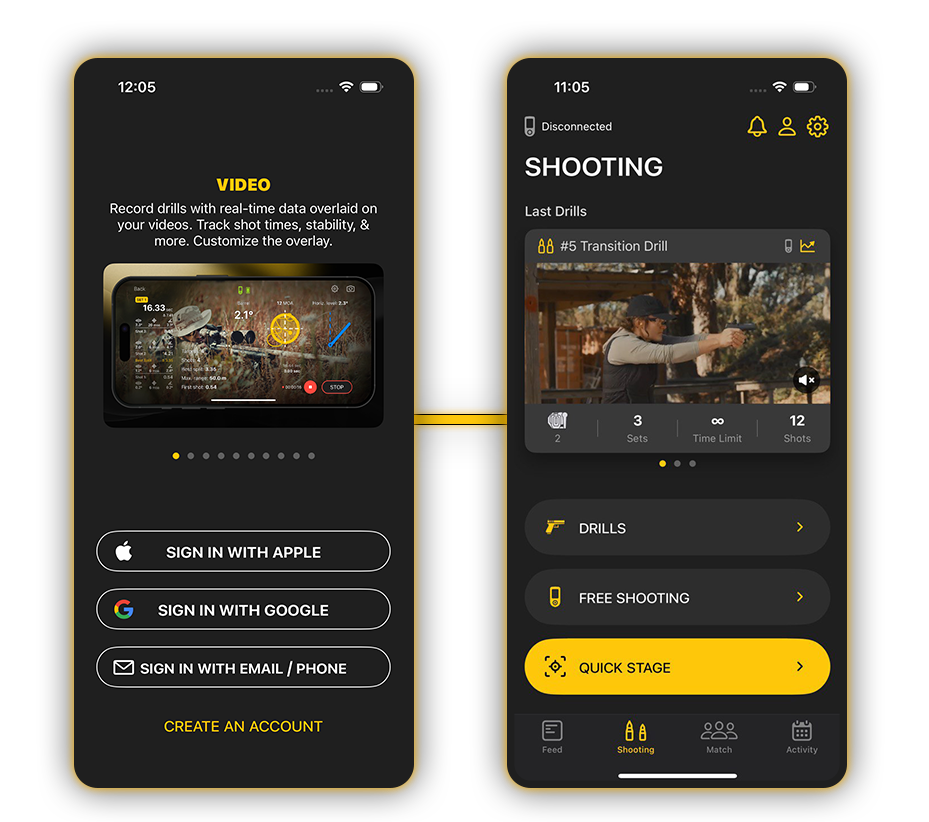
This is how to connect your Pulse Pro with Drills App for the first time.
Download the Drills app on Apple App Store or Google Play market.
You may search for “Drills” or scan this QR code.

📱Create an account in the app.
💾 The account will store all settings, presets, results, drills, and video content in the cloud, so it will be saved if you change the smartphone or the timer.
Prepare Your Smartphone
- Open the Drills app
- Turn on Bluetooth on your smartphone
- Grant Location and Bluetooth permissions
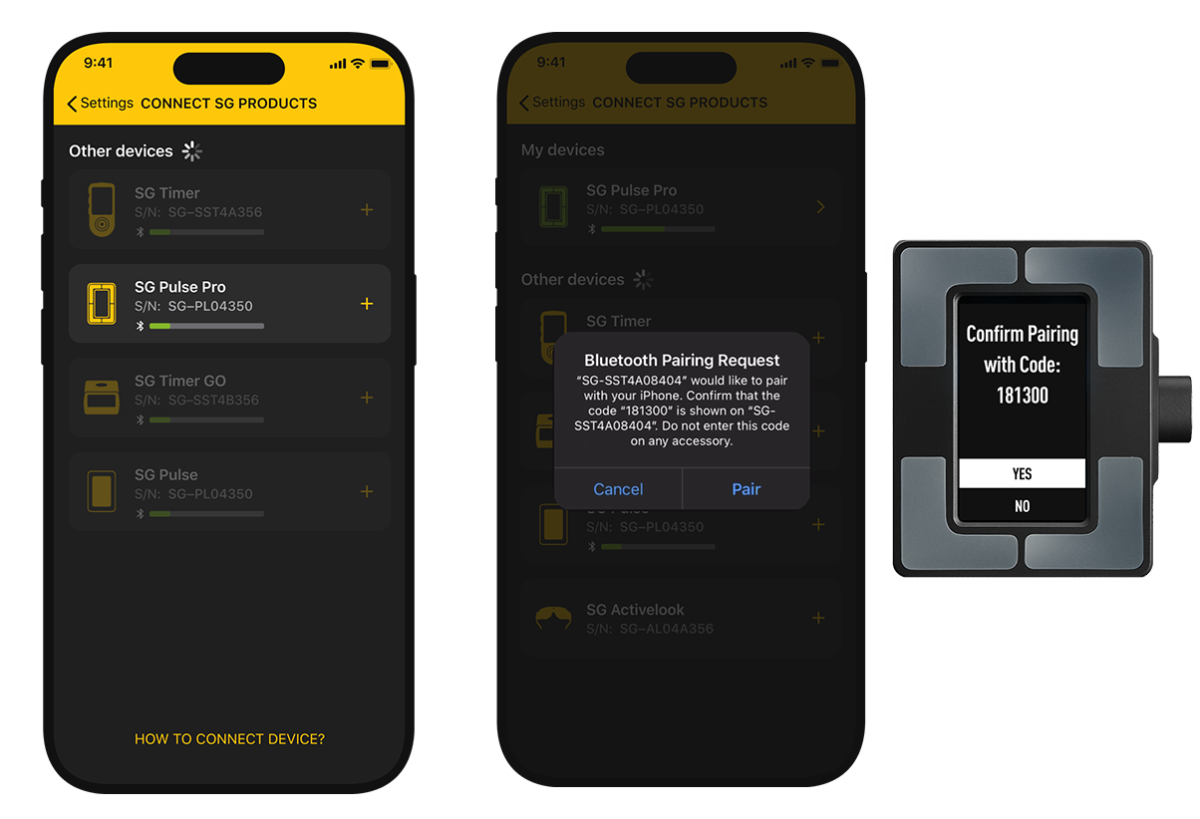
Turn On the Timer and Enable Pairing Mode

On the device, go to Settings → Bluetooth.
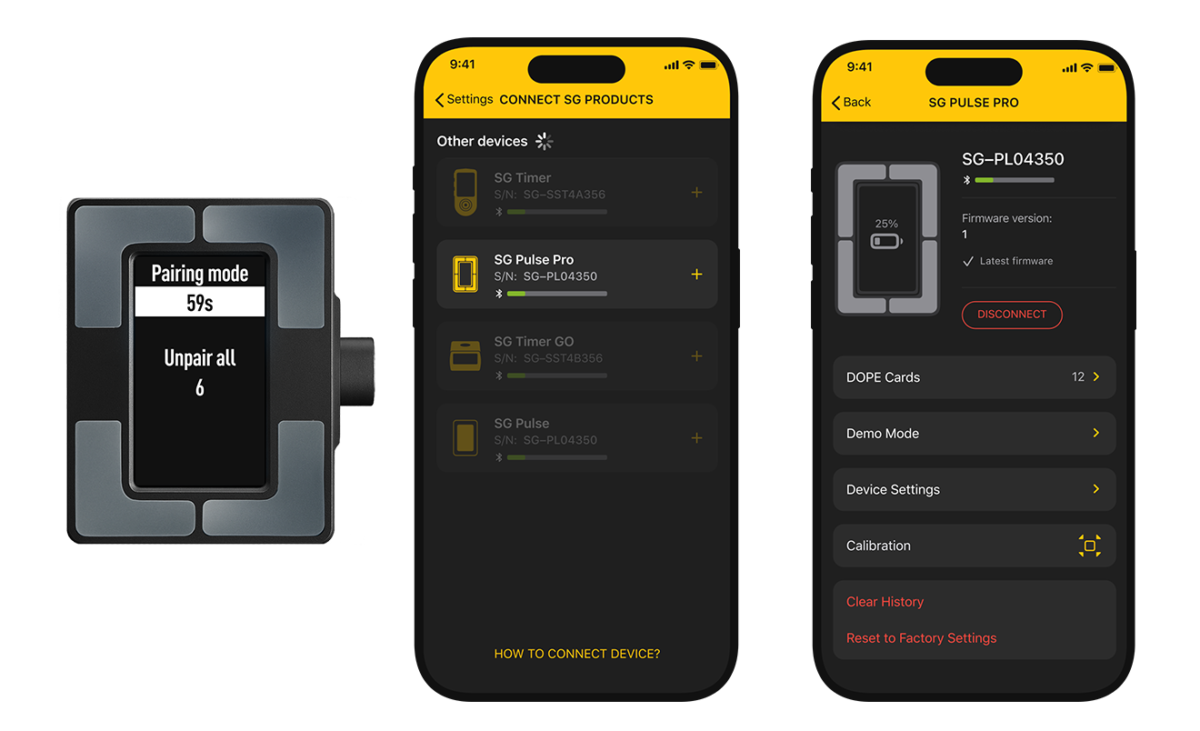
Select Pairing mode to start the 60-second connection period.
In the Drills App, select your device from the list;
Confirm the pairing request on both the app and the device screen;
SG Pulse Pro successfully connected.
Connecting to Another Smartphone
If you need to connect the timer to another smartphone enable Pairing mode on the device and repeat the pairing process.
SG Pulse Pro can remember up to 8 smartphones.
The SG Pulse Pro, previously paired with smartphones, will automatically connect to them when the Drills App is opened (Pairing mode is not required).
Connect with the new smartphone.
On SG Pulse Pro you can also see how many smartphones are currently paired with the device in the device menu.
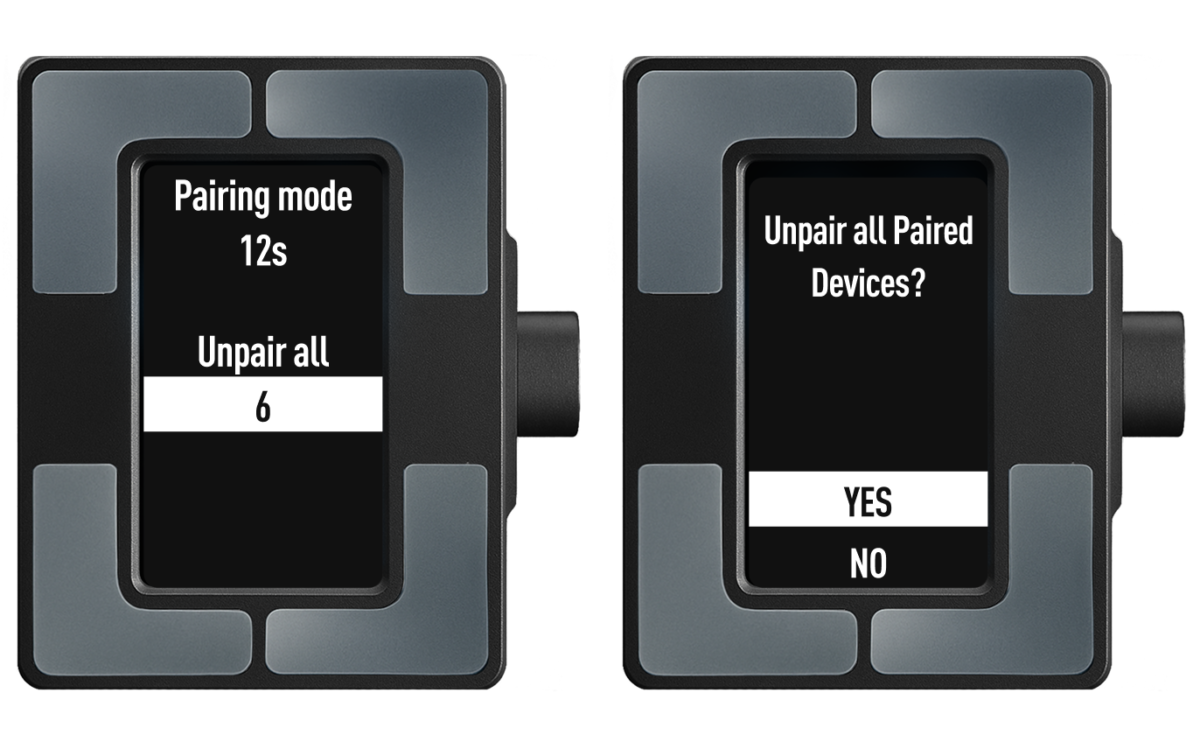
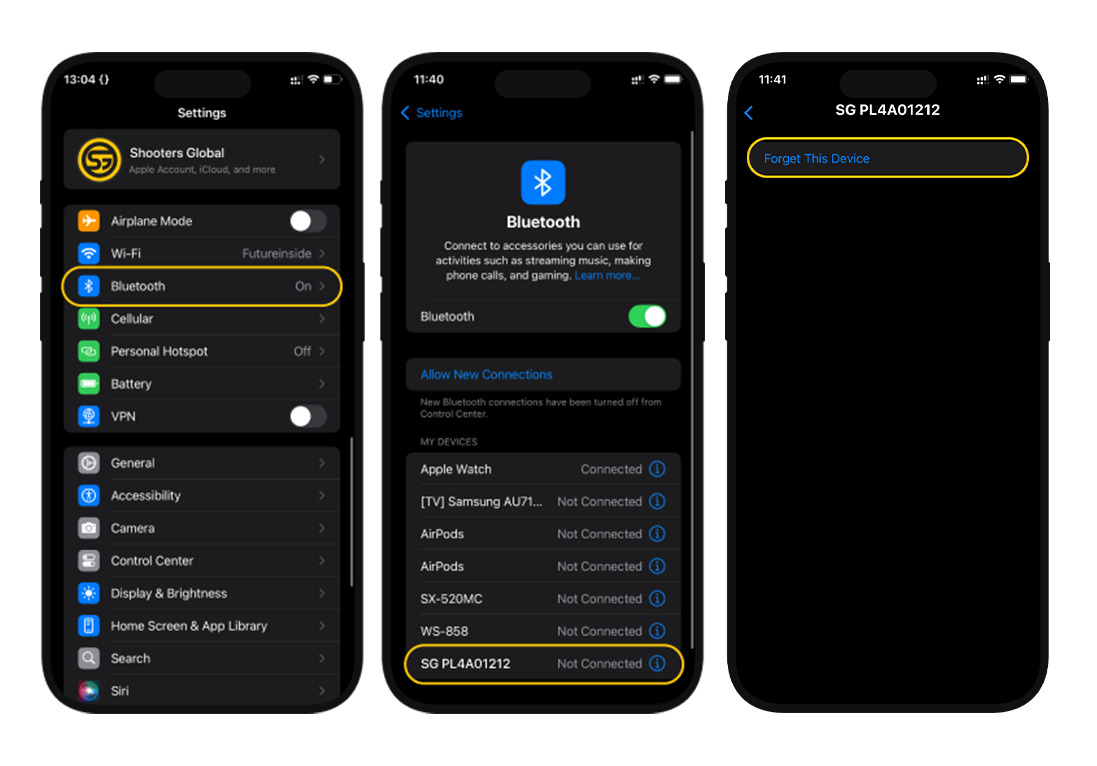
If you used the Unpair All option on the device or cannot connect:
1. Go to your smartphone’s system Bluetooth settings;
2. Find the timer in the list of devices;
3. Select Forget This Device;
4. Enable Pairing Mode on the timer;
5. Try connecting again in the Drills app.
👇👇👇 Watch the video below for Bluetooth pairing instructions for this and other Shooters Global devices.
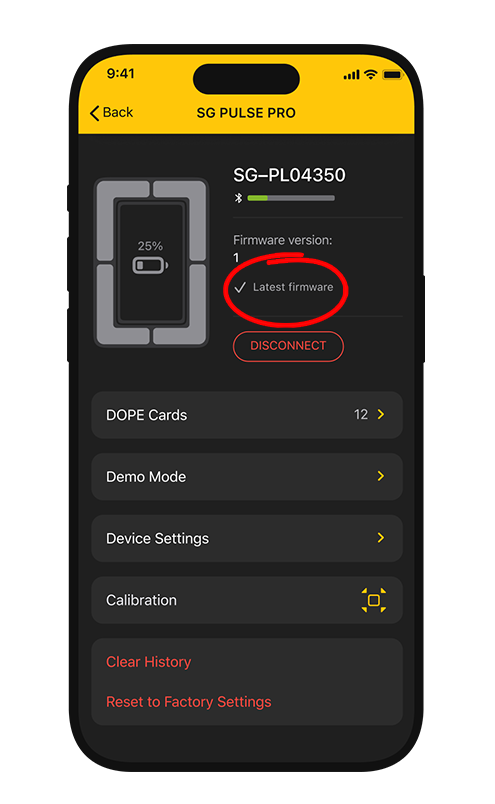
Update Pulse Pro firmware
Click on the level icon in the top left corner. If the level doesn’t show up, ensure the level is turned on, Bluetooth is active in both level and phone settings, and the app has permission to access Bluetooth.

Tap on the level menu in the app and tap “Update”.
If the update is available, tap “Update” once again and follow the instructions on the screen. Don’t disconnect the level during the update.
Now, your Pulse Pro is connected to your Drills app and ready for use!
To turn off the level, choose Shutdown. Alternatively, it will automatically turn off after 30 minutes of standby.